Packing an S&S coupled bike
|
I recently wrote about the single chainring setup on my road bike and I wanted to write more about my experience traveling with an S&S coupled bike. I’ve been traveling with S&S coupled bikes and Ritchey Breakaways since 1997 and I’ve had good luck so far. I’ve tweaked my setup in a few ways based on my experiences. 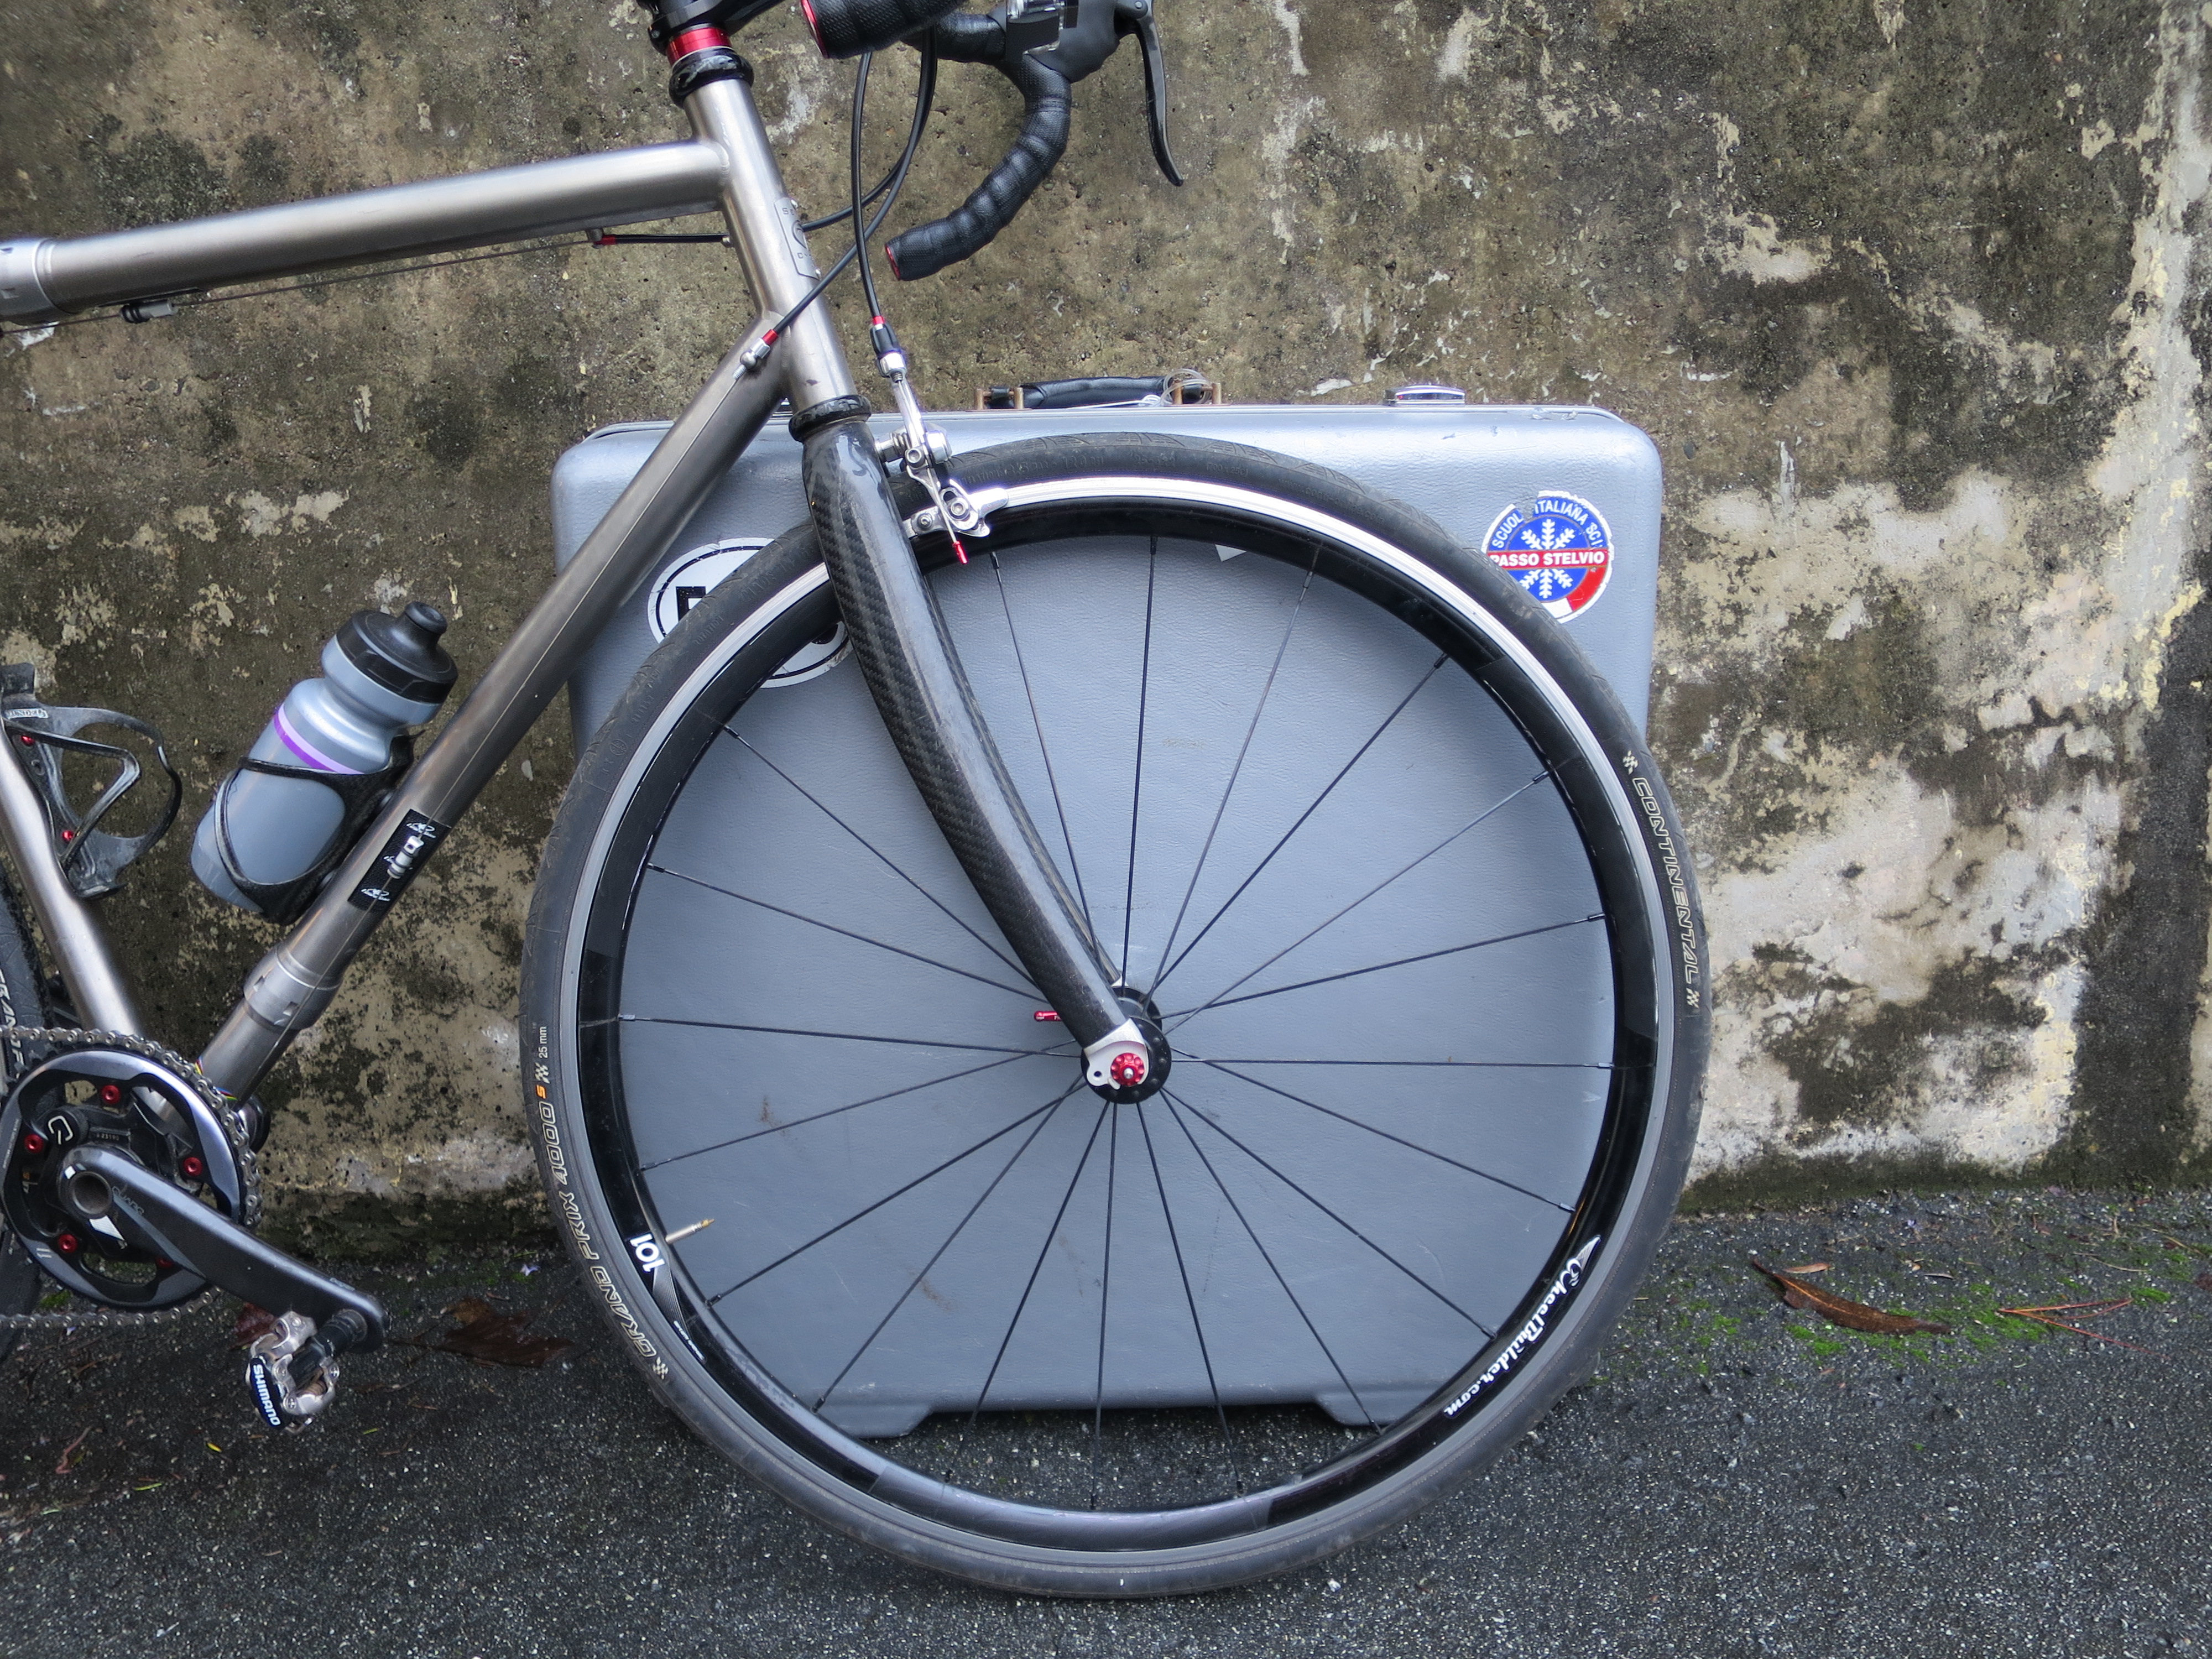 The bike packs into an airline-checkable case with the dimensions of a bike wheel. Traveling with a bike is notoriously frustrating. Airlines gouge you on a whim and traditional bike bags are cumbersome. S&S couplings allow the bike frame to be separated into two pieces and packed into a suitcase the size of a bike wheel – 26″x26″x10″, which allows the bike to travel as normal checked baggage.
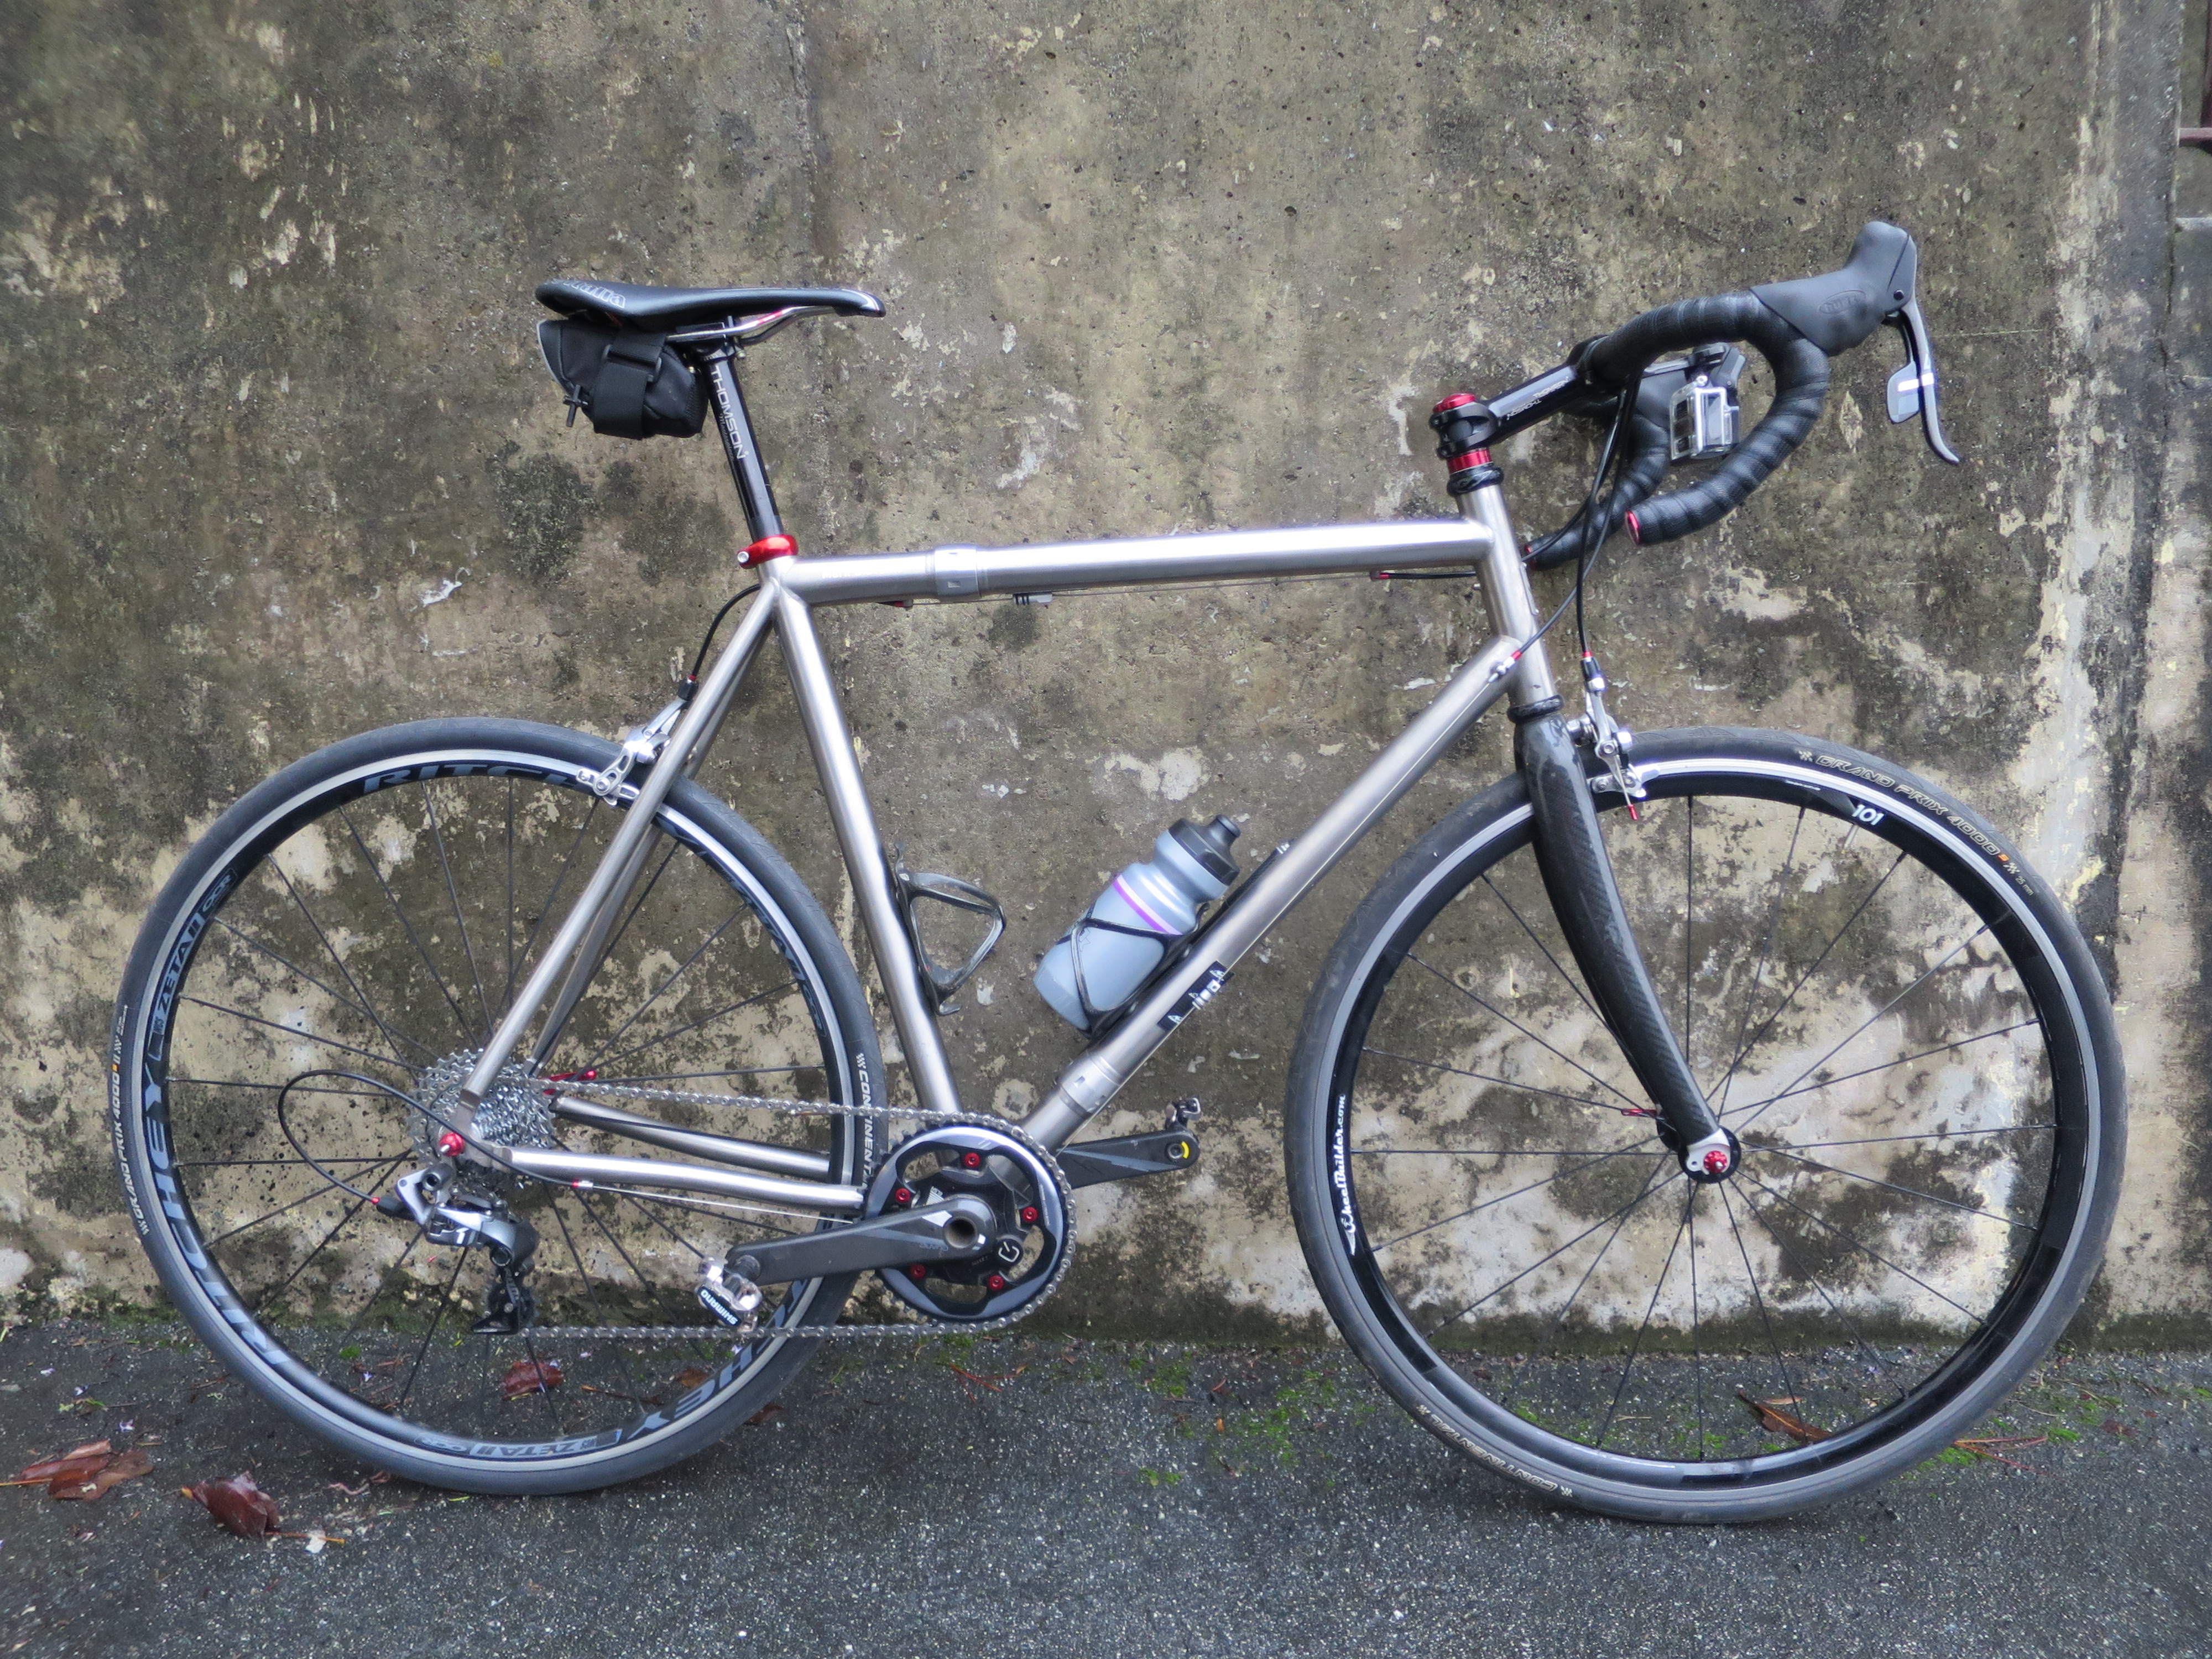
My travel bike is a Seven Axiom with optional S&S couplings. It weighs 18 lbs, 2 oz. with a 60 cm frame. The oversized titanium tubing and the stainless steel couplings make it pretty stiff overall, especially for a titanium bike. I’d use this bike for any ride or race and I never feel compromised by it.
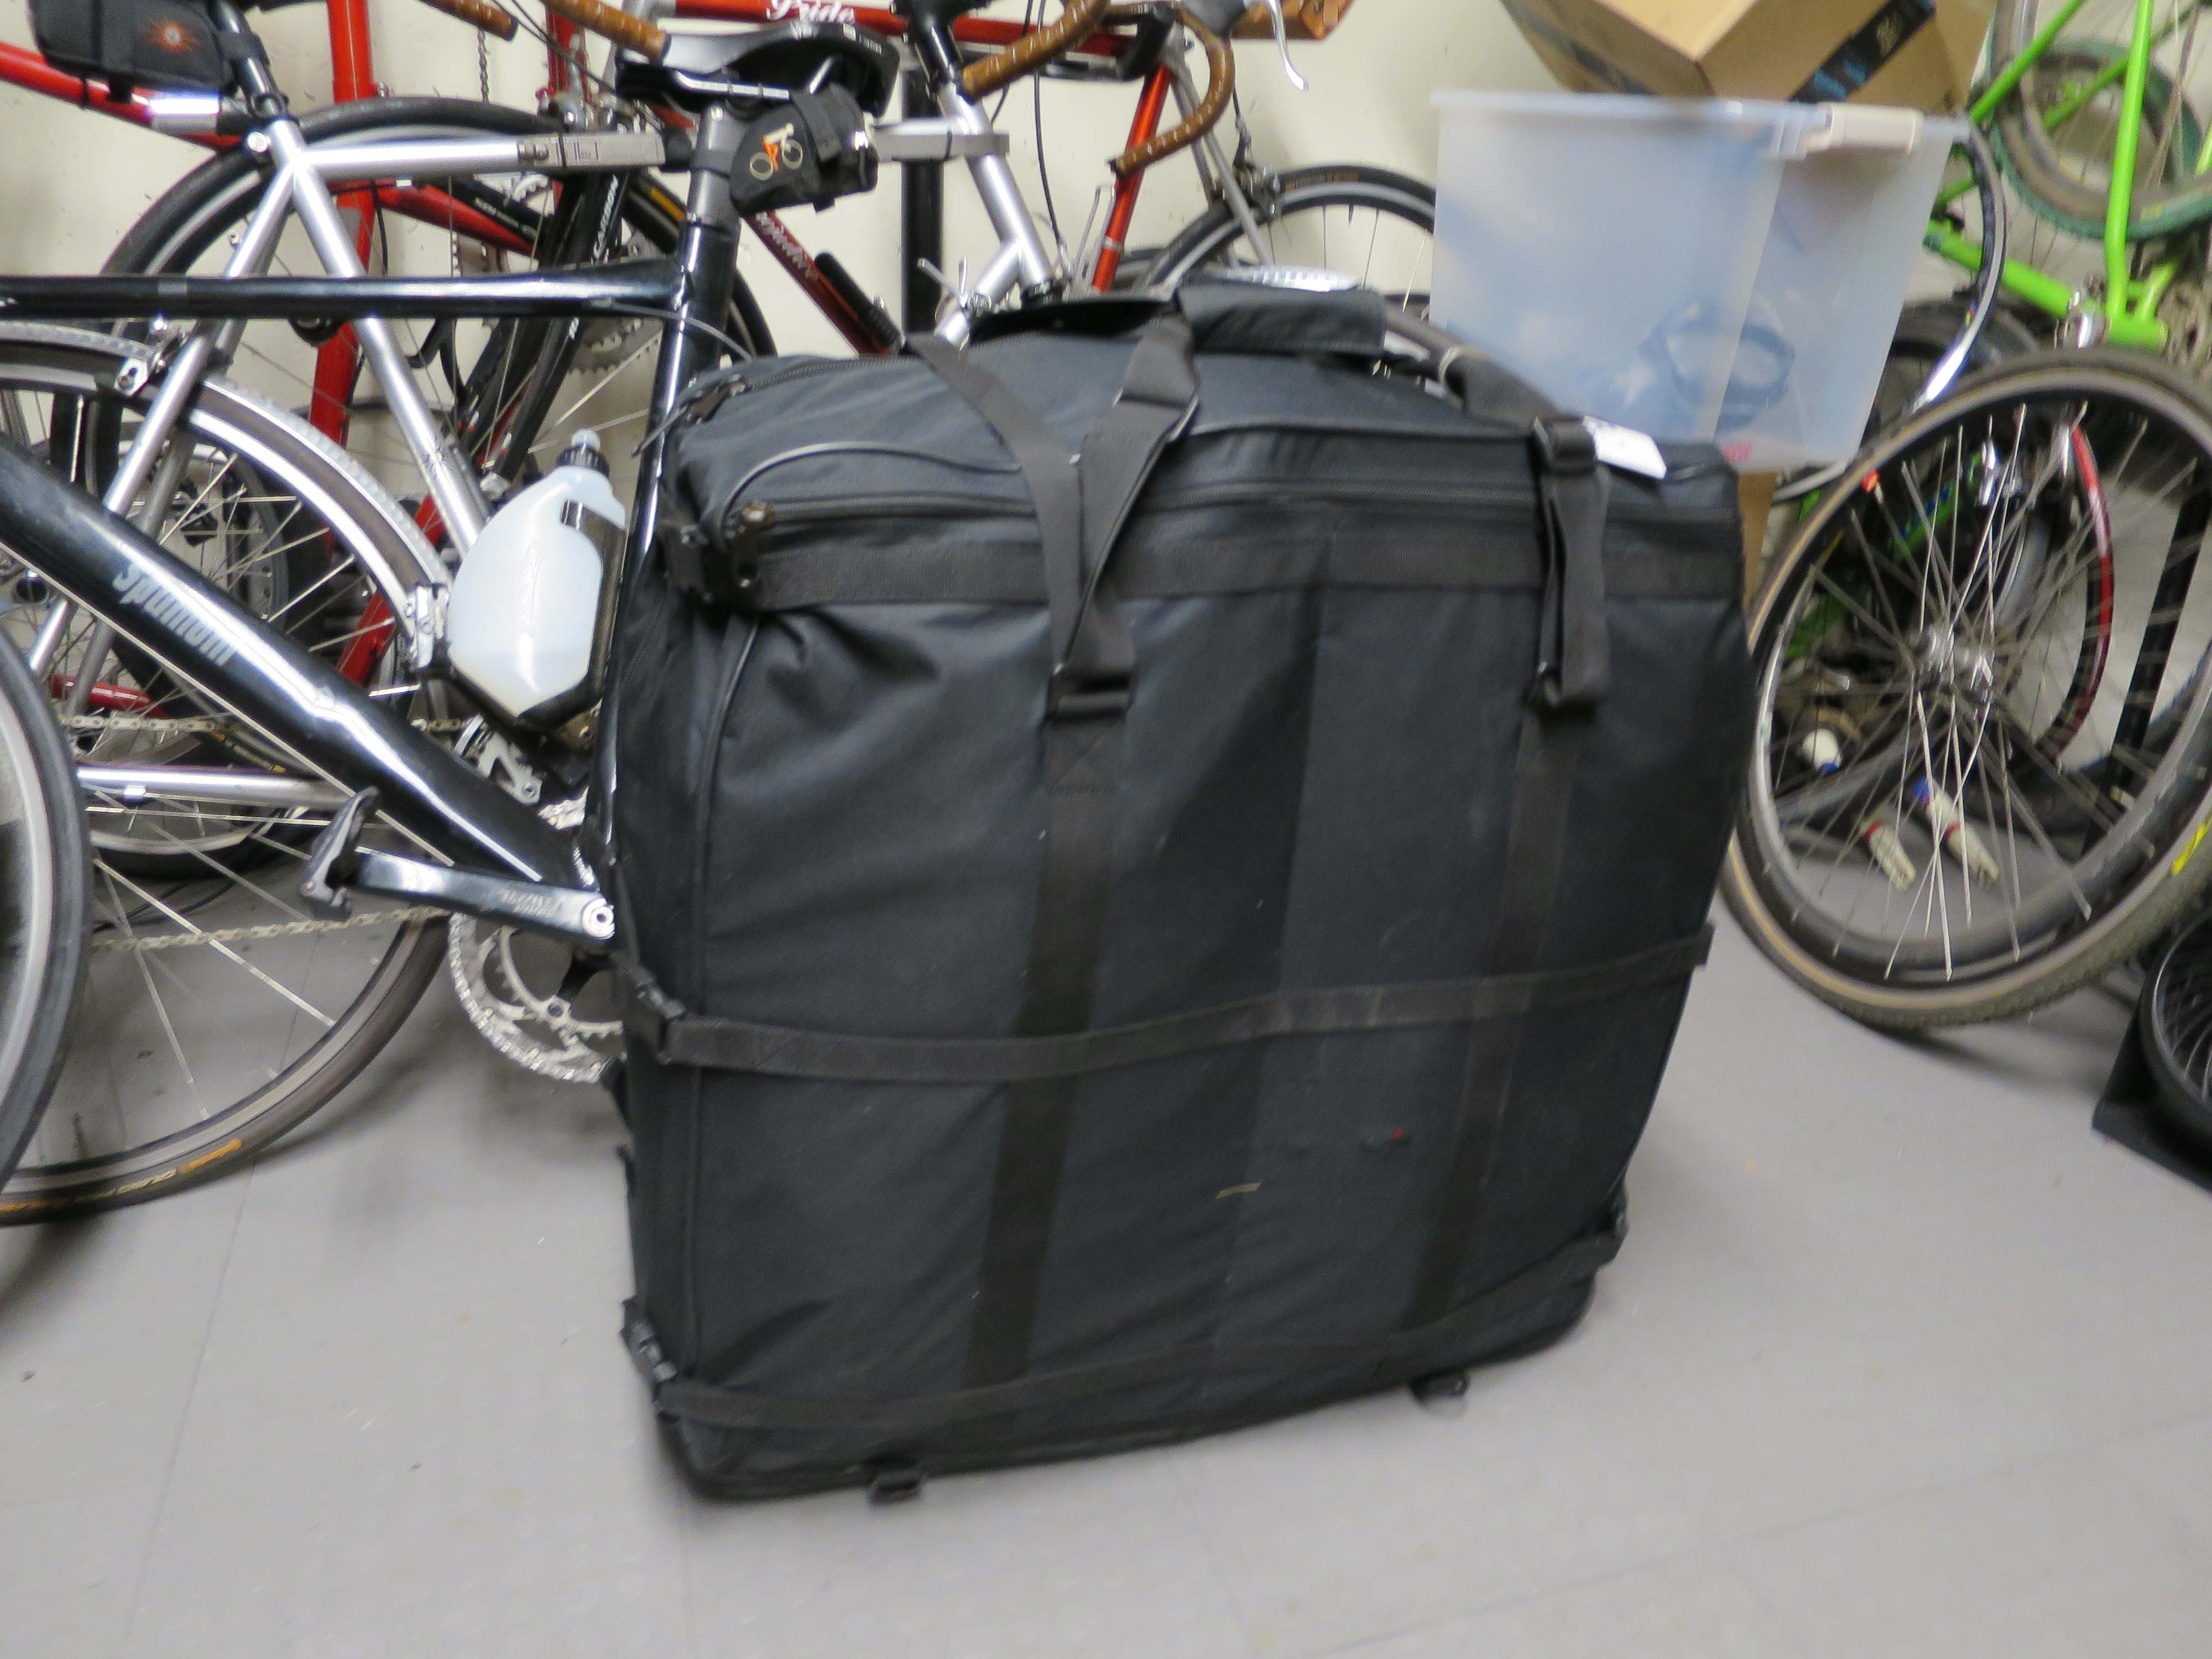
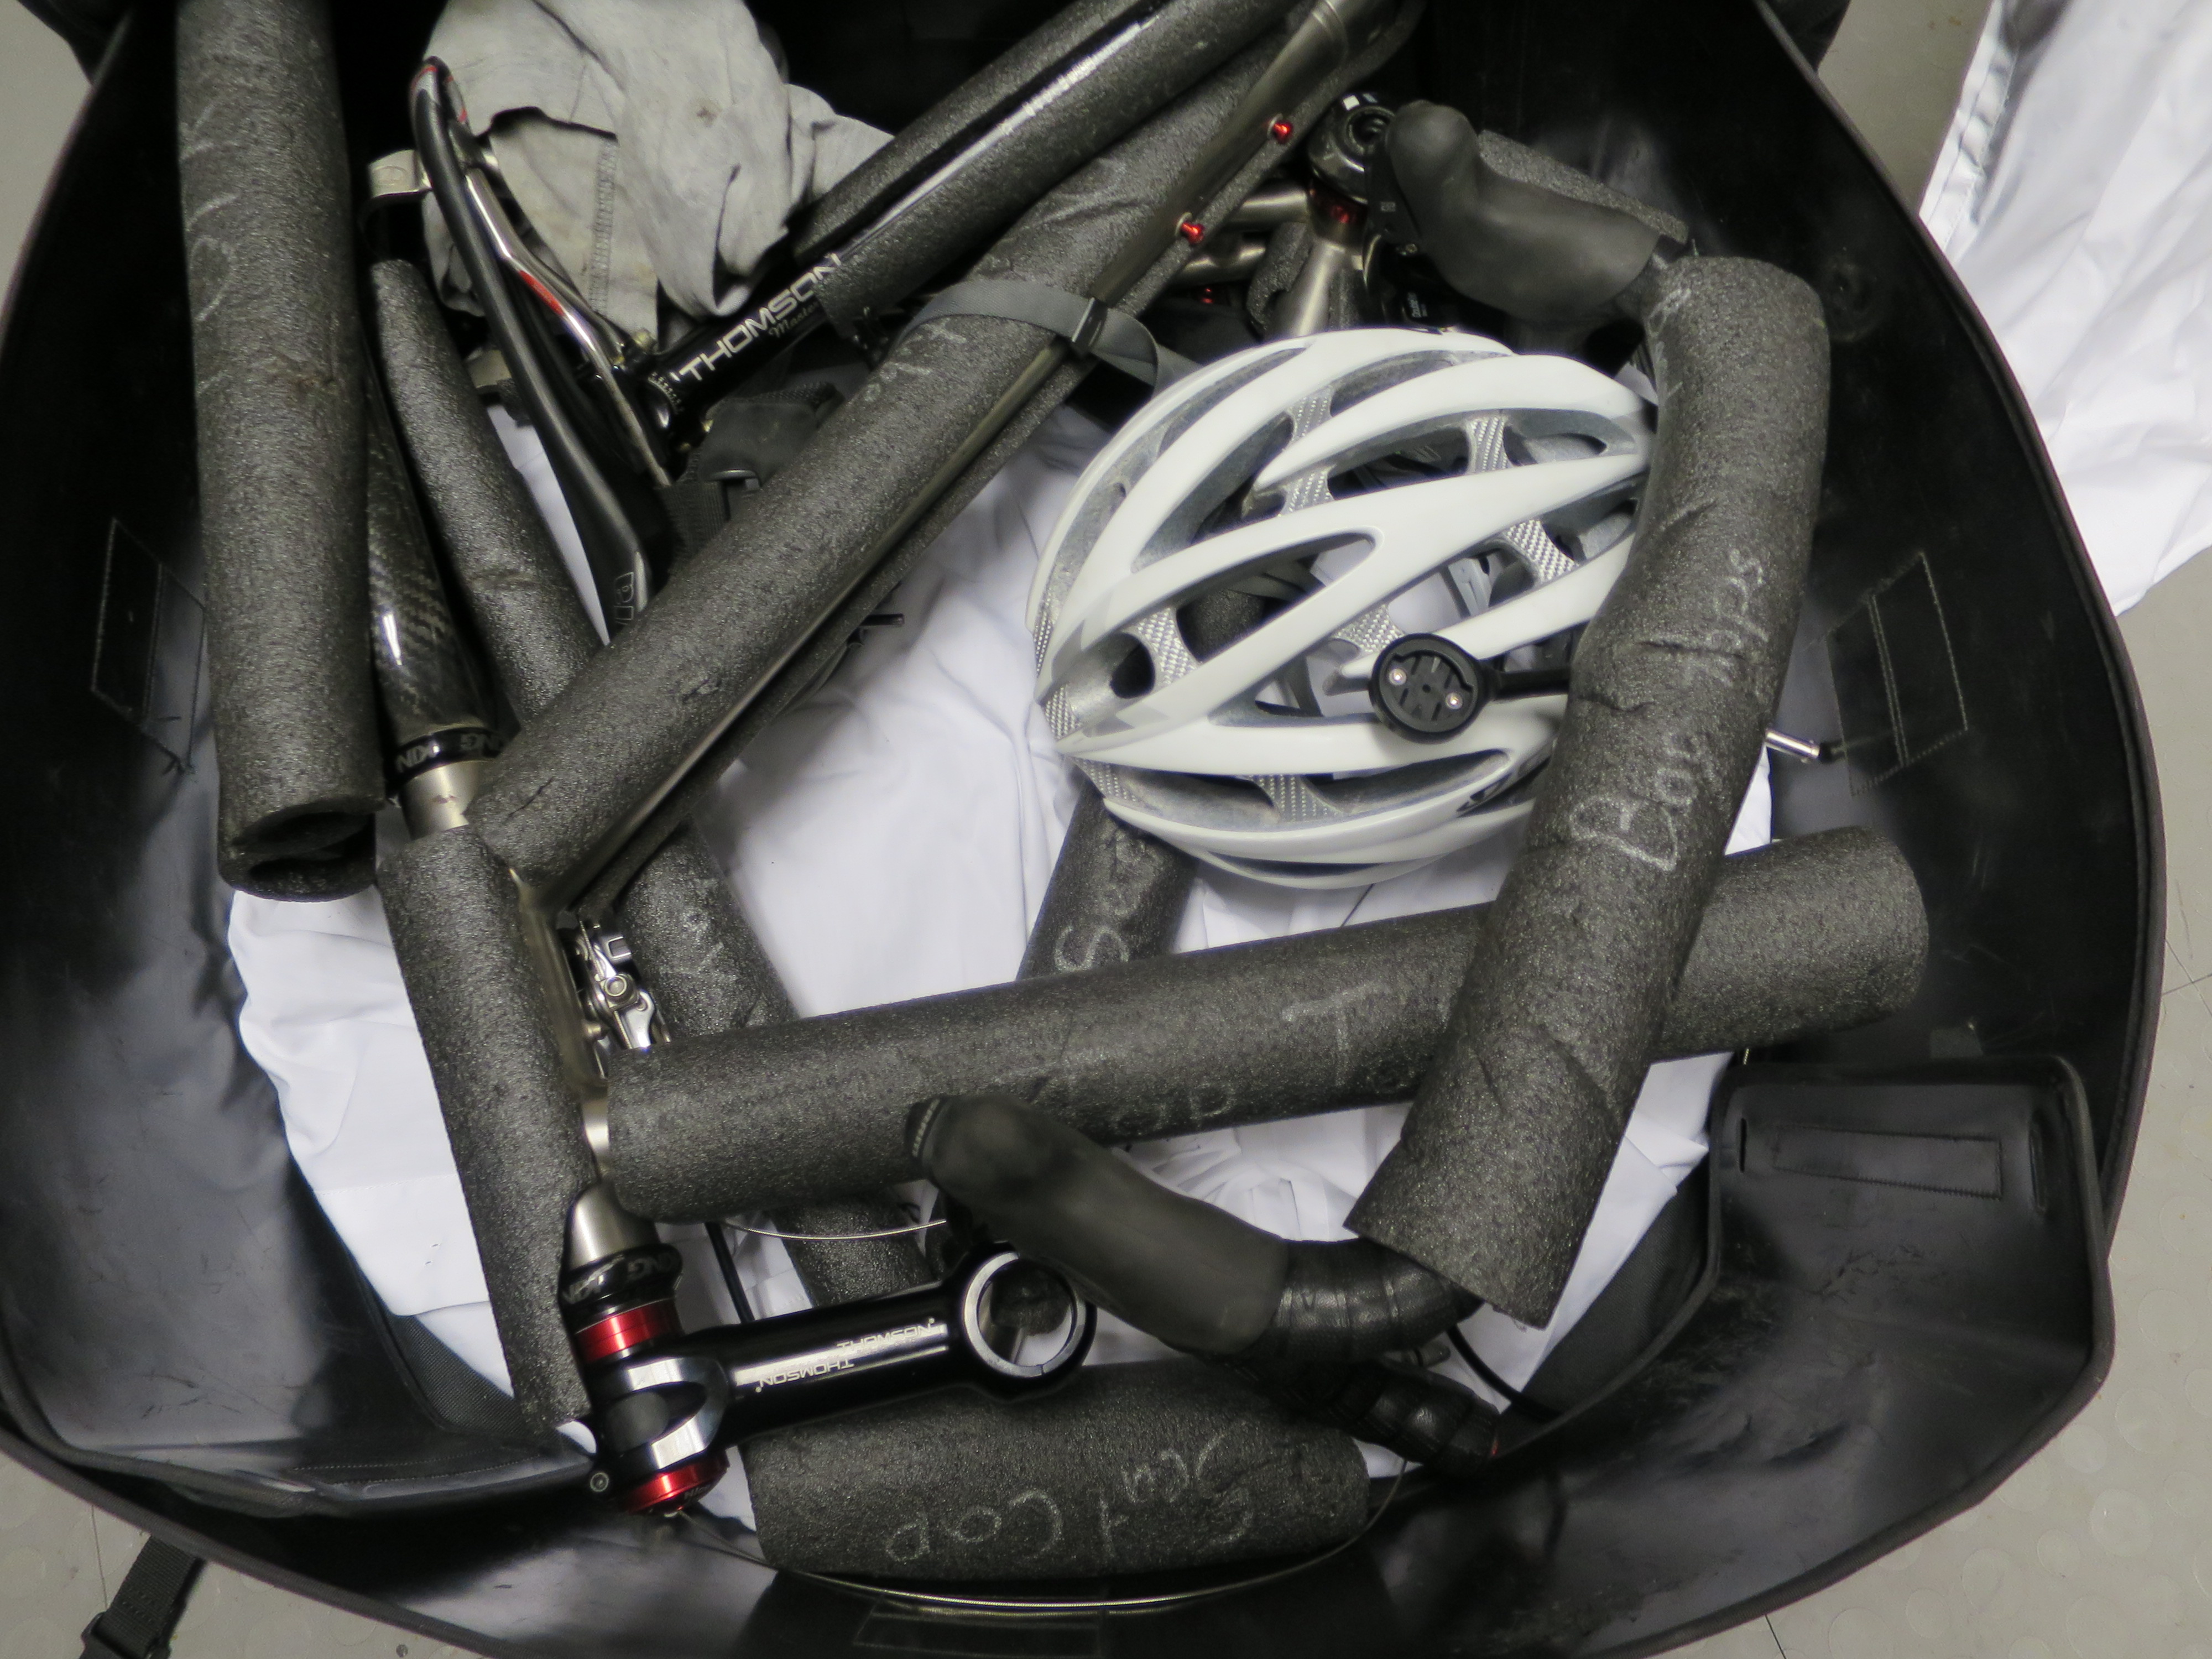
This is what the bike looks like fully packed in the soft case along with helmet, shoes, and cycling clothing. I’ve tried the S&S hard case and the Ritchey soft case as well, but I prefer the S&S soft case. The hard case when empty weights almost 20 pounds compared to just 3.5 pounds for the soft case. leaving little extra weight for equipment. The Ritchey soft case is slightly larger than official airline maximum dimensions and it’s a bit bulkier than the S&S soft case. When not in use the S&S case packs flat and folds up remarkably small. It takes less time, and is less stressful, to build the bike out of the case than it does to pack it into the case. I can easily build it up and ride it in 20 minutes without rushing. For packing I like to give myself a half hour, though the addition of the Ritchey Zeta II rear wheel has made packing the bike vastly easier and means that a half hour is a generous estimate for packing time. Here’s how it packs into the case
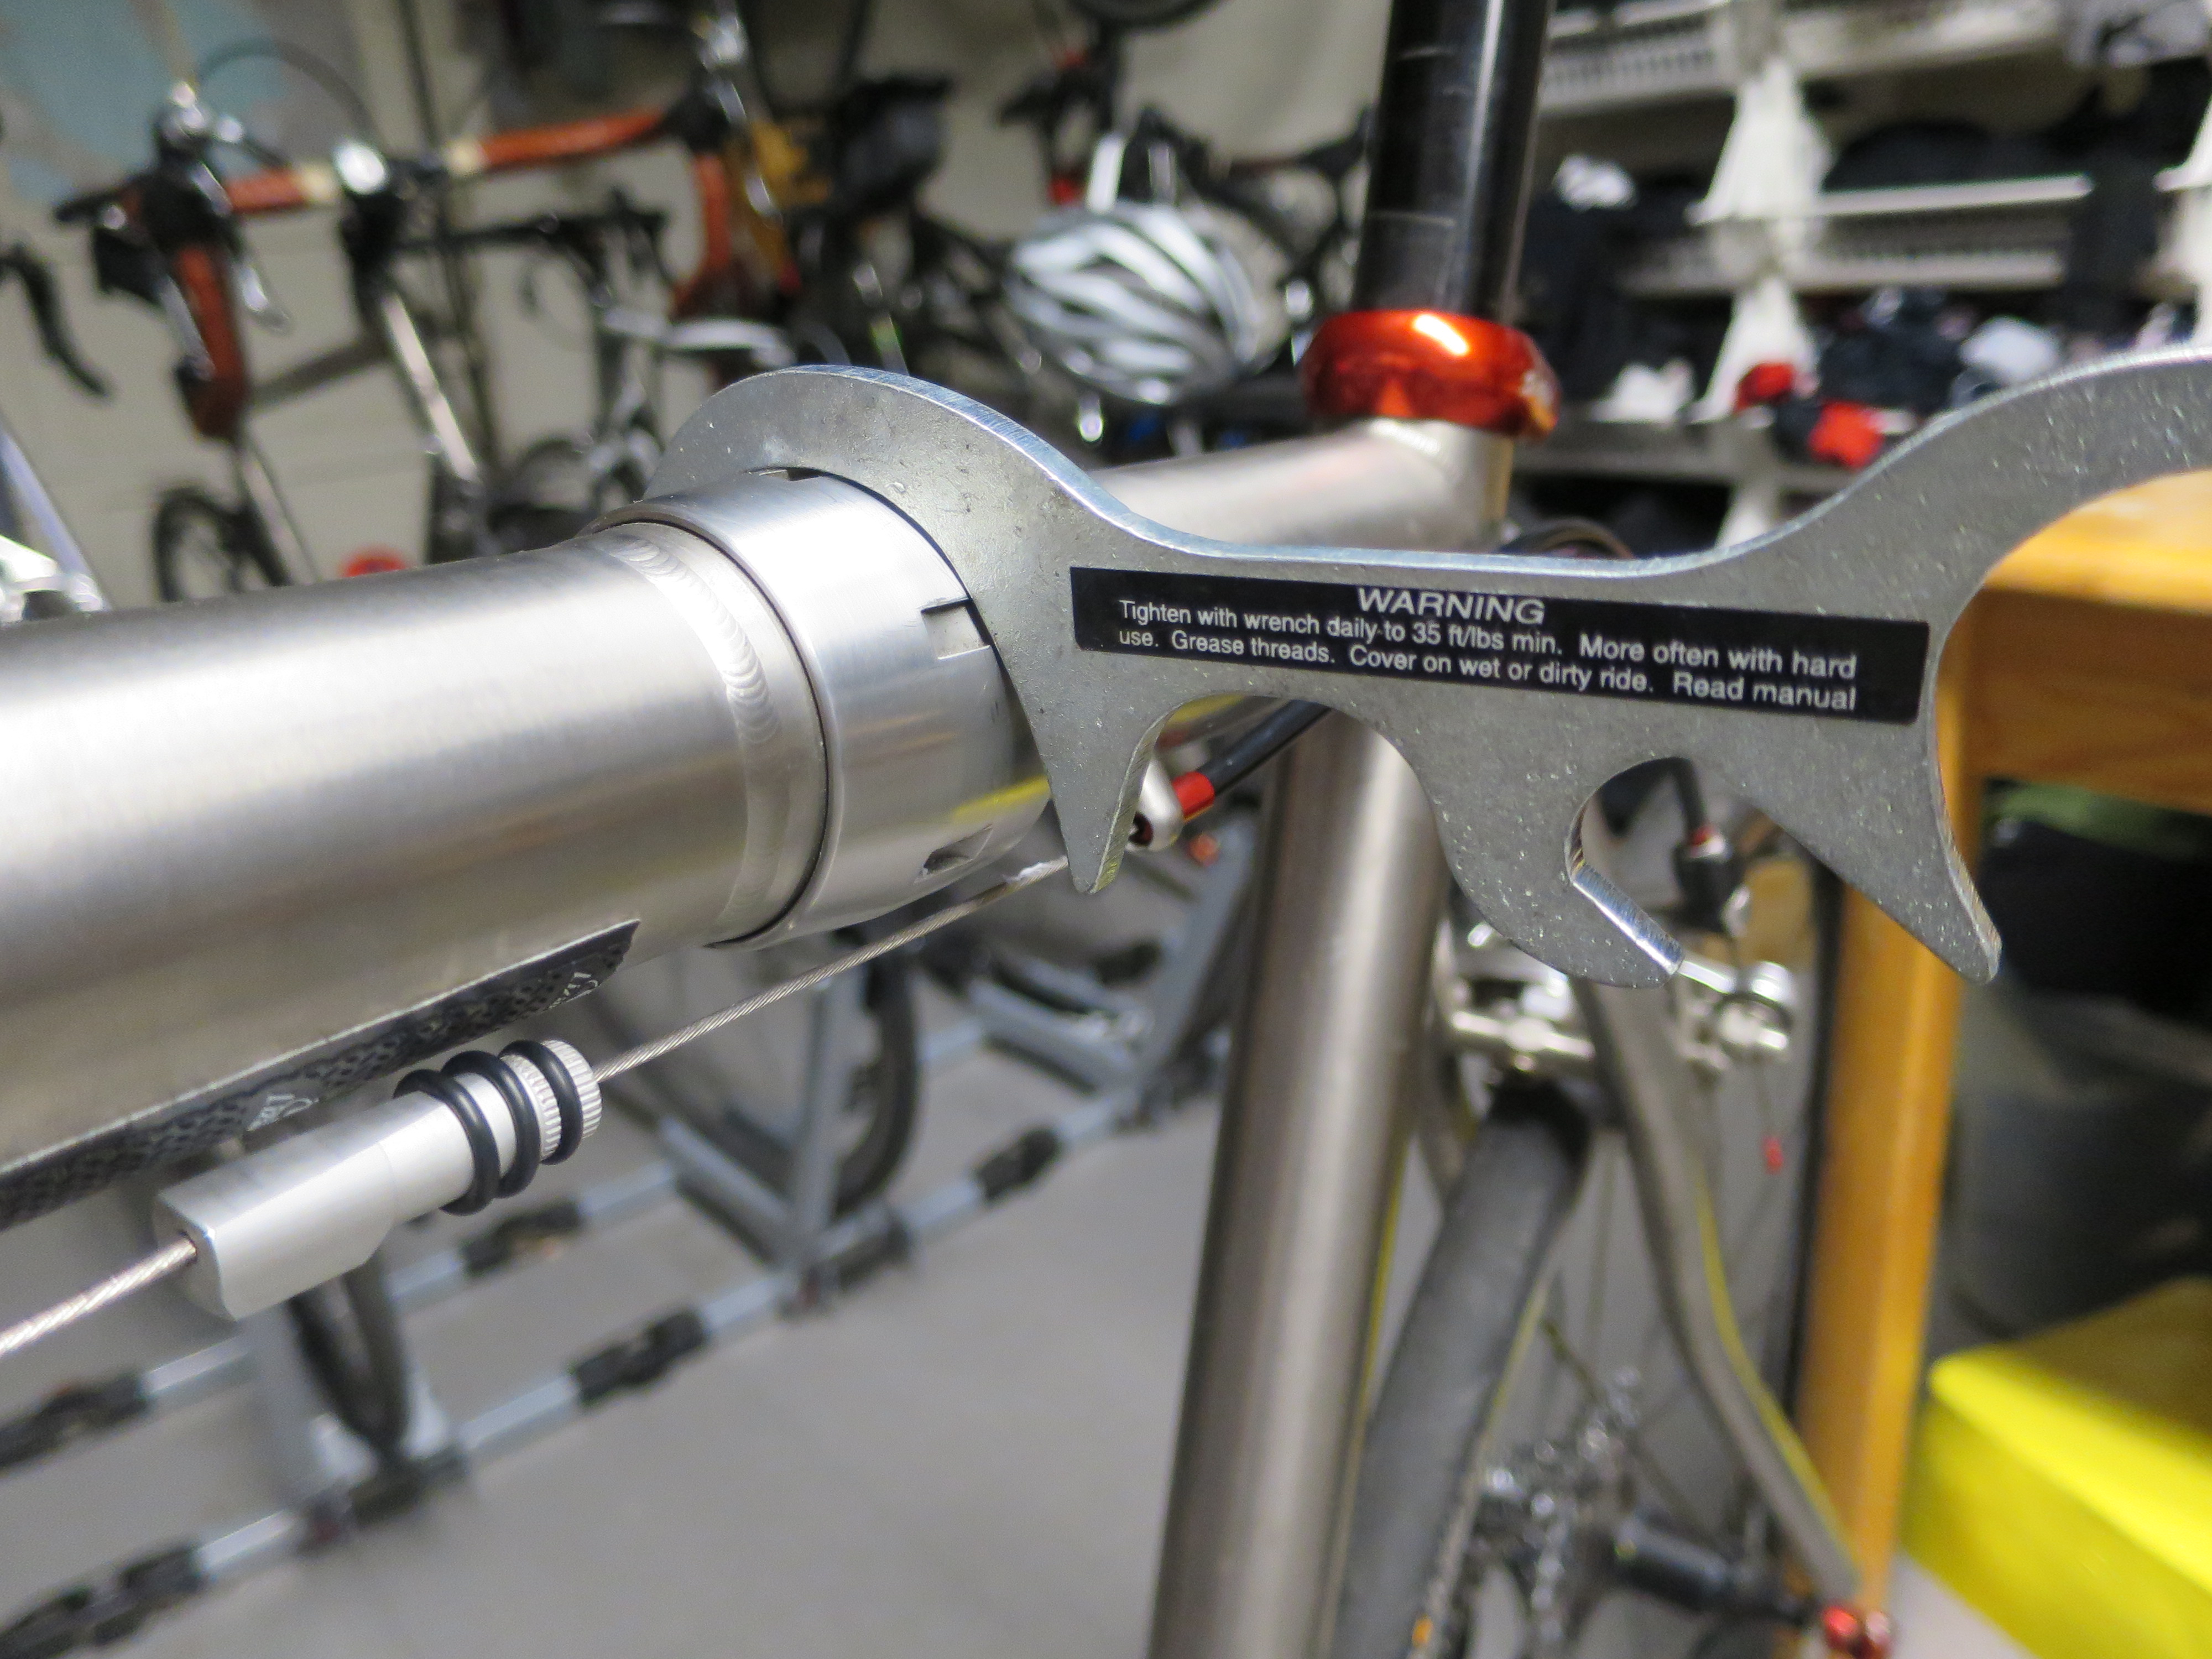
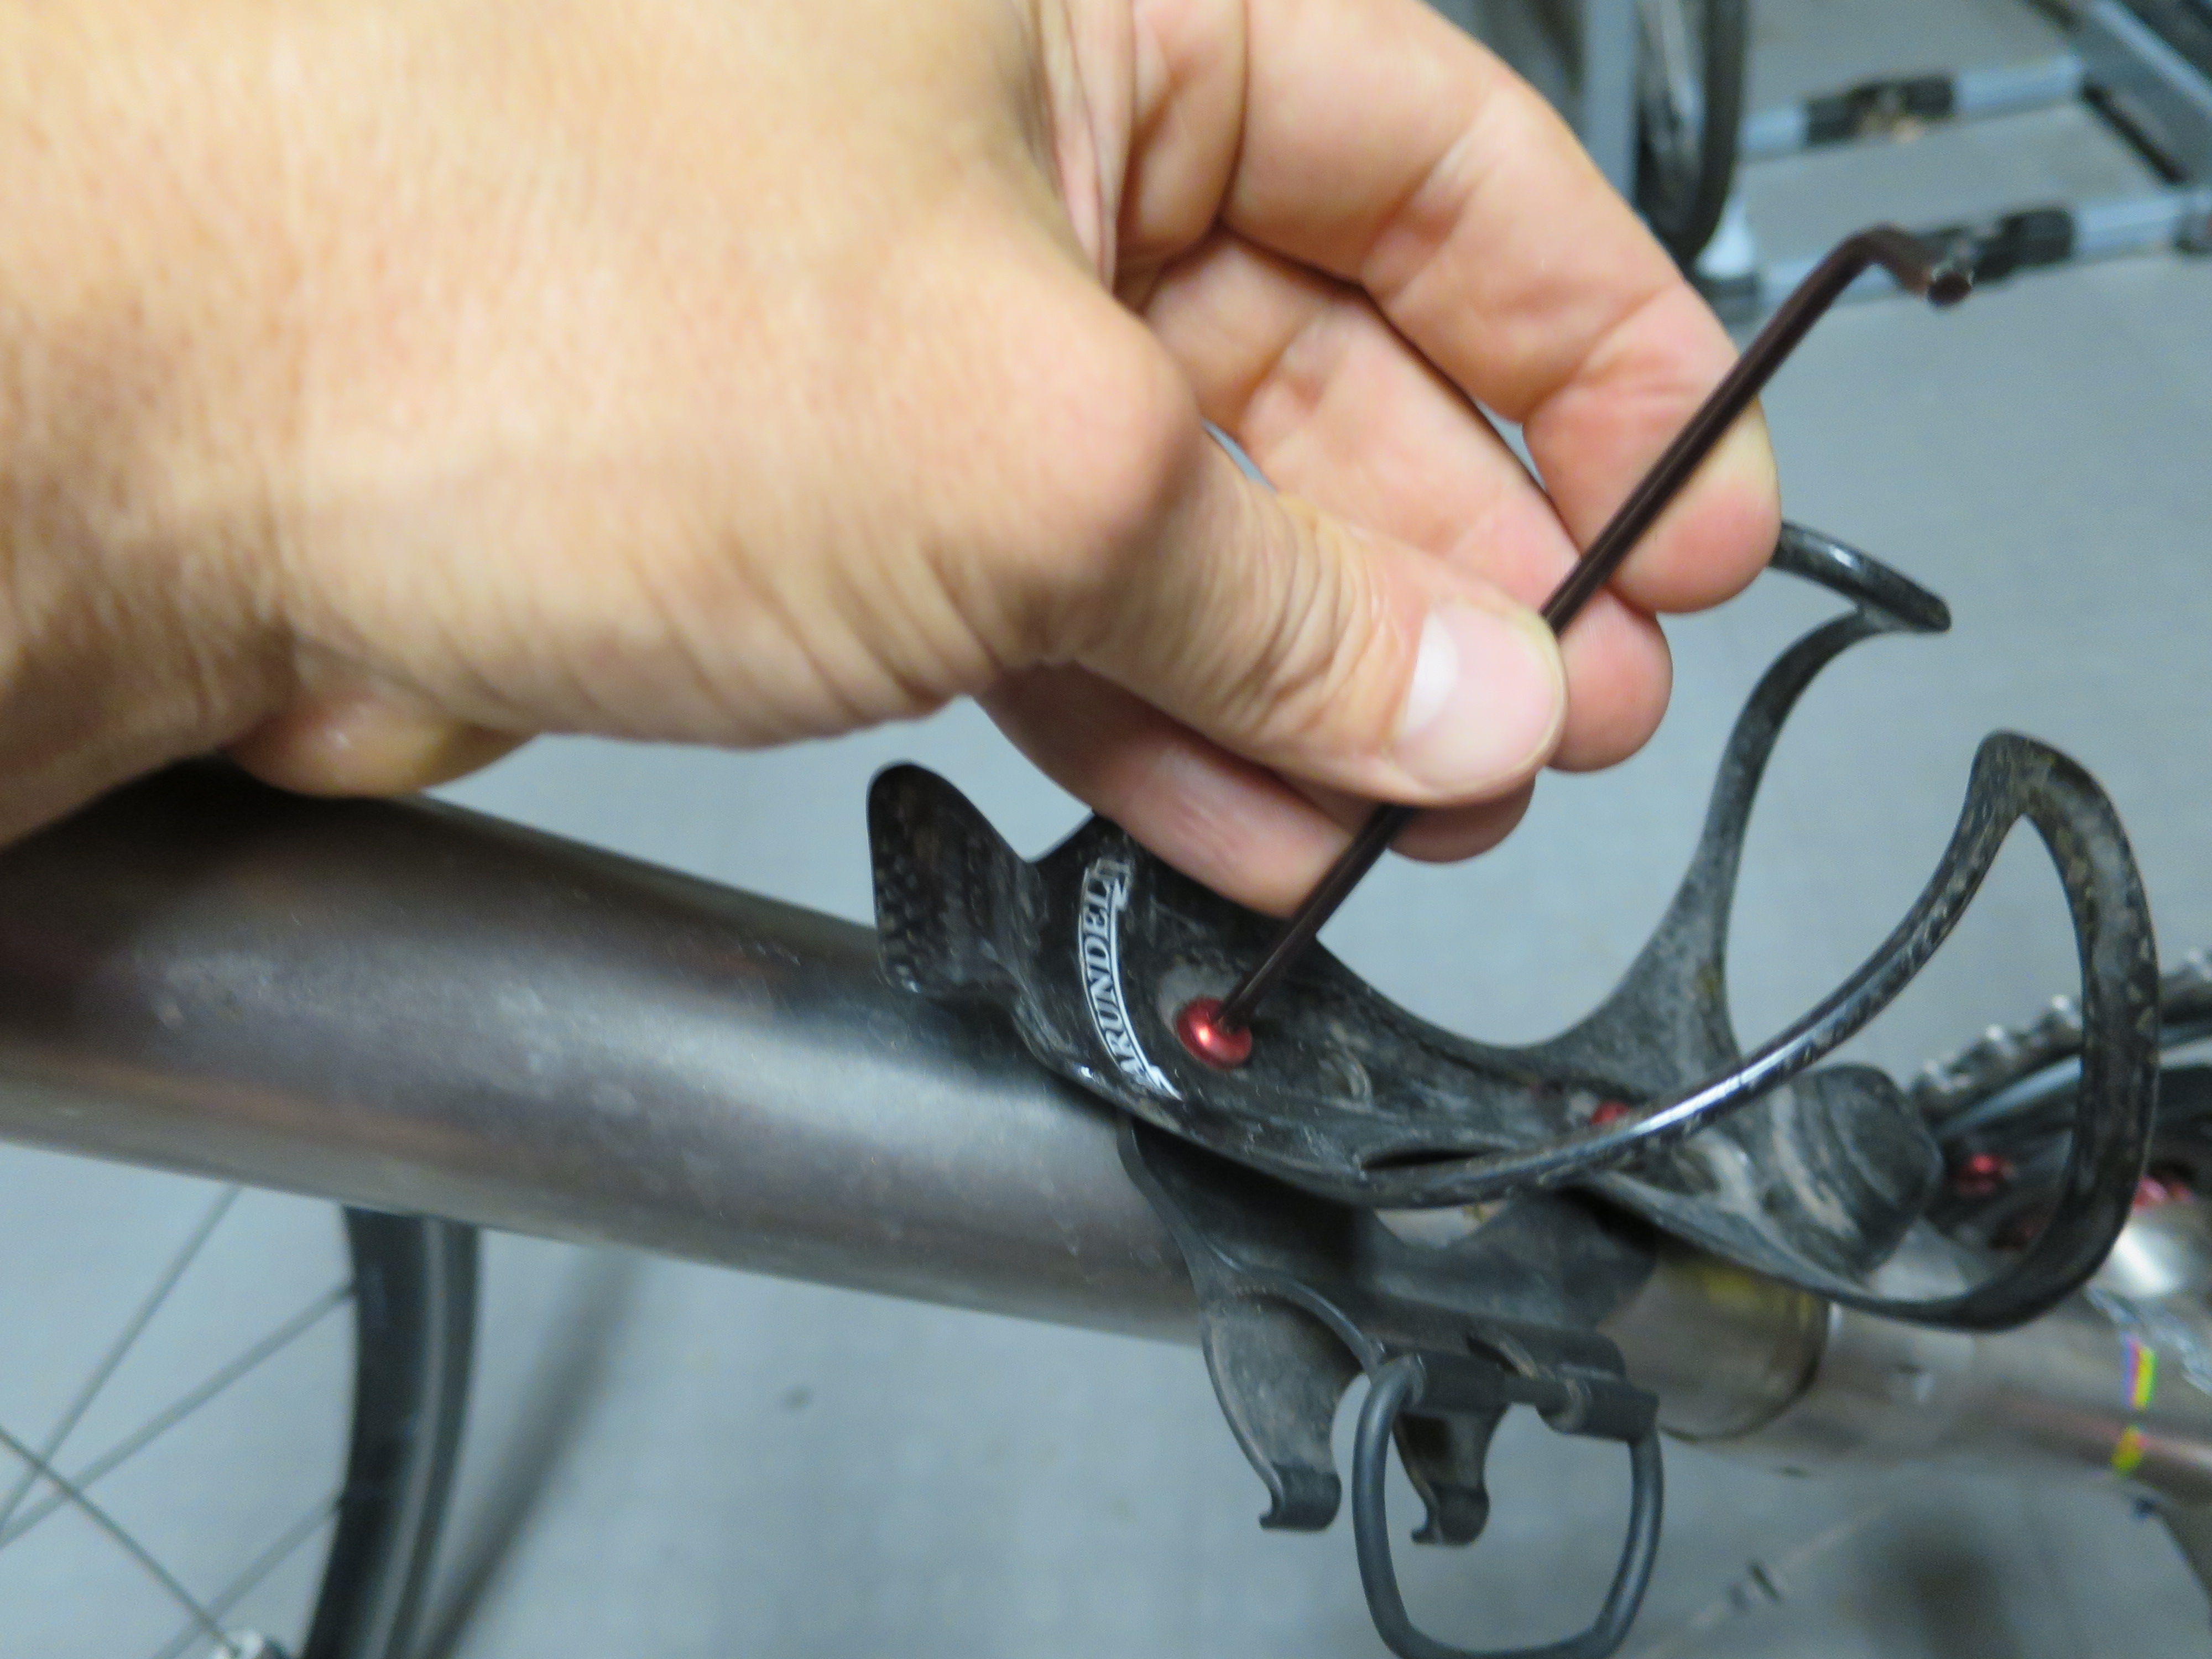
First, I unscrew the sleeves that bind the couplings, using this special tool that came with the bike. I ordered two extras in case I lose this one. I suppose an old school bottom bracket lockring tool could be used in a pinch. I leave the couplings finger tight while I work on dismantling the rest of the bike.
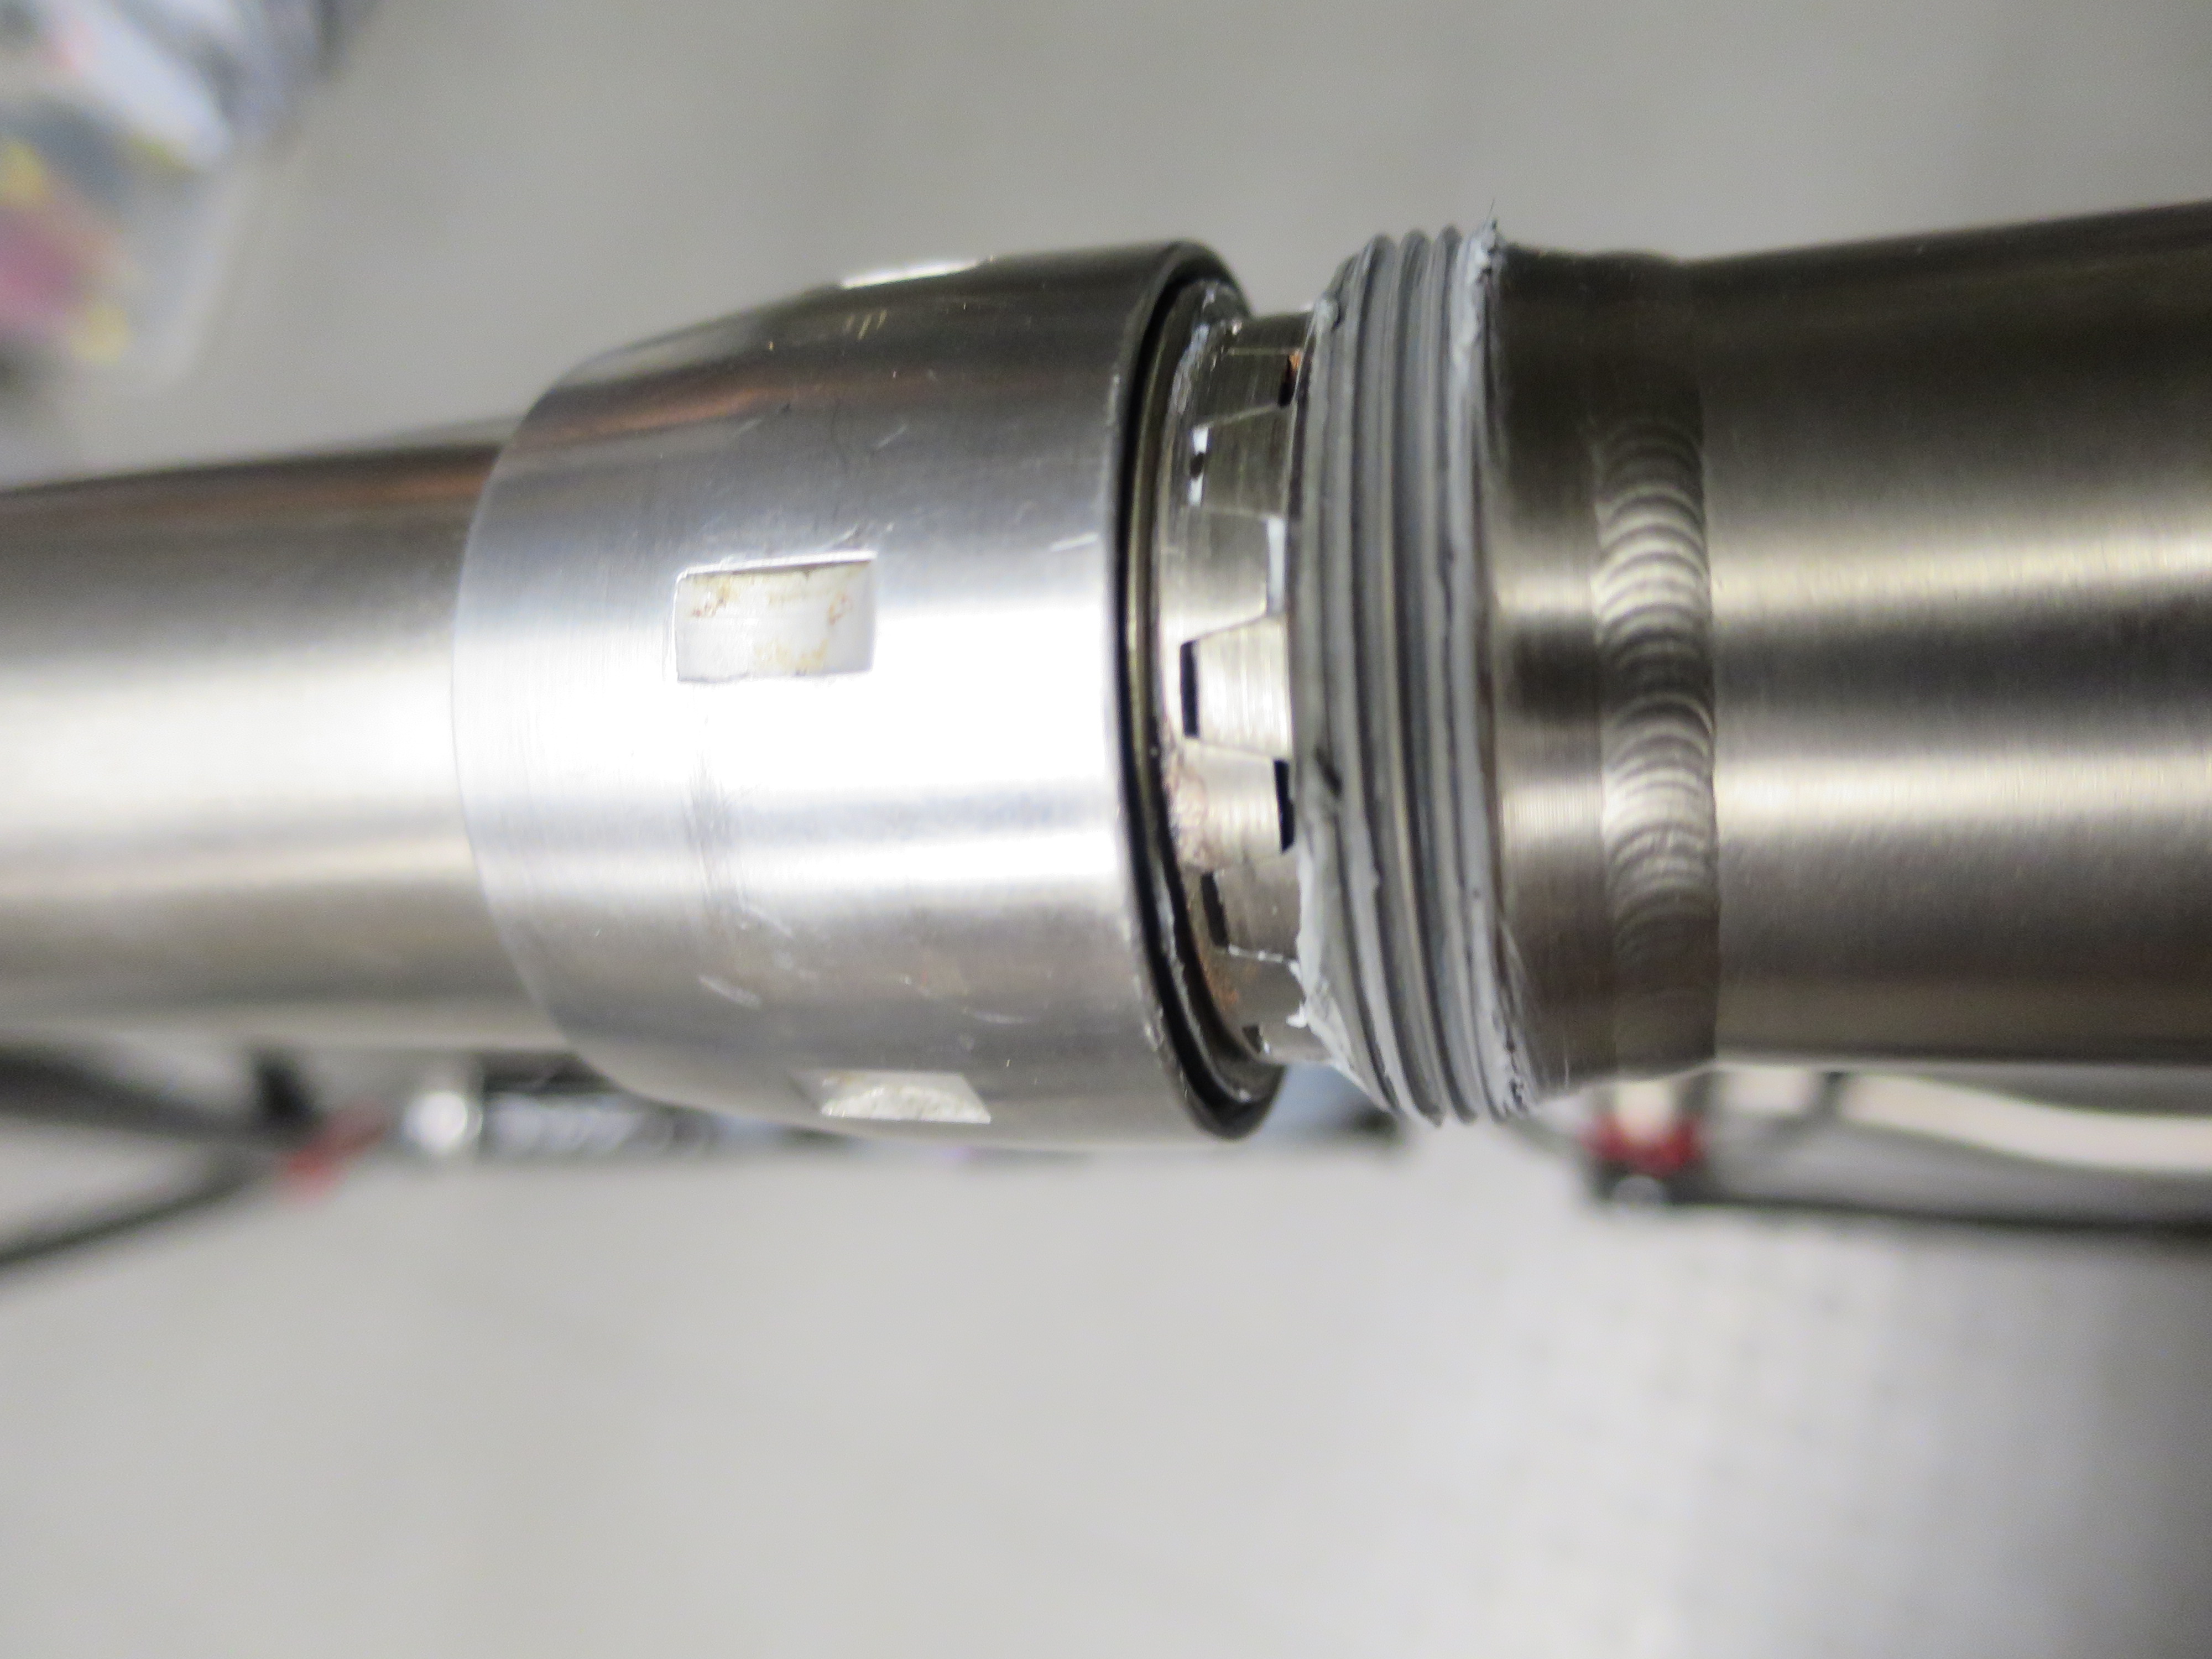
Under the sleeve are interlocking stainless steel teeth that form a tight joint when pressed together by the threads. Note the white grease – S&S recommends Finish Line Extreme Flouro grease.
With the frame couplers still together but finger tight, I remove the water bottle cages, seatpost and saddle, pedals, front brake, and the handlebars. I find it easier to remove the handlebars from a two-bolt Thomson stem than it would be to remove the stem from the fork. Also, it’s easier to just remove the front brake from the fork than to disconnect the front brake cable. I prefer mountain bike style SPD pedals on this bike so that I can use shoes that are easier for walking. Riding while traveling often includes coffee stops, lunches, explorations and other occasions when my Look Keos aren’t as good a choice.
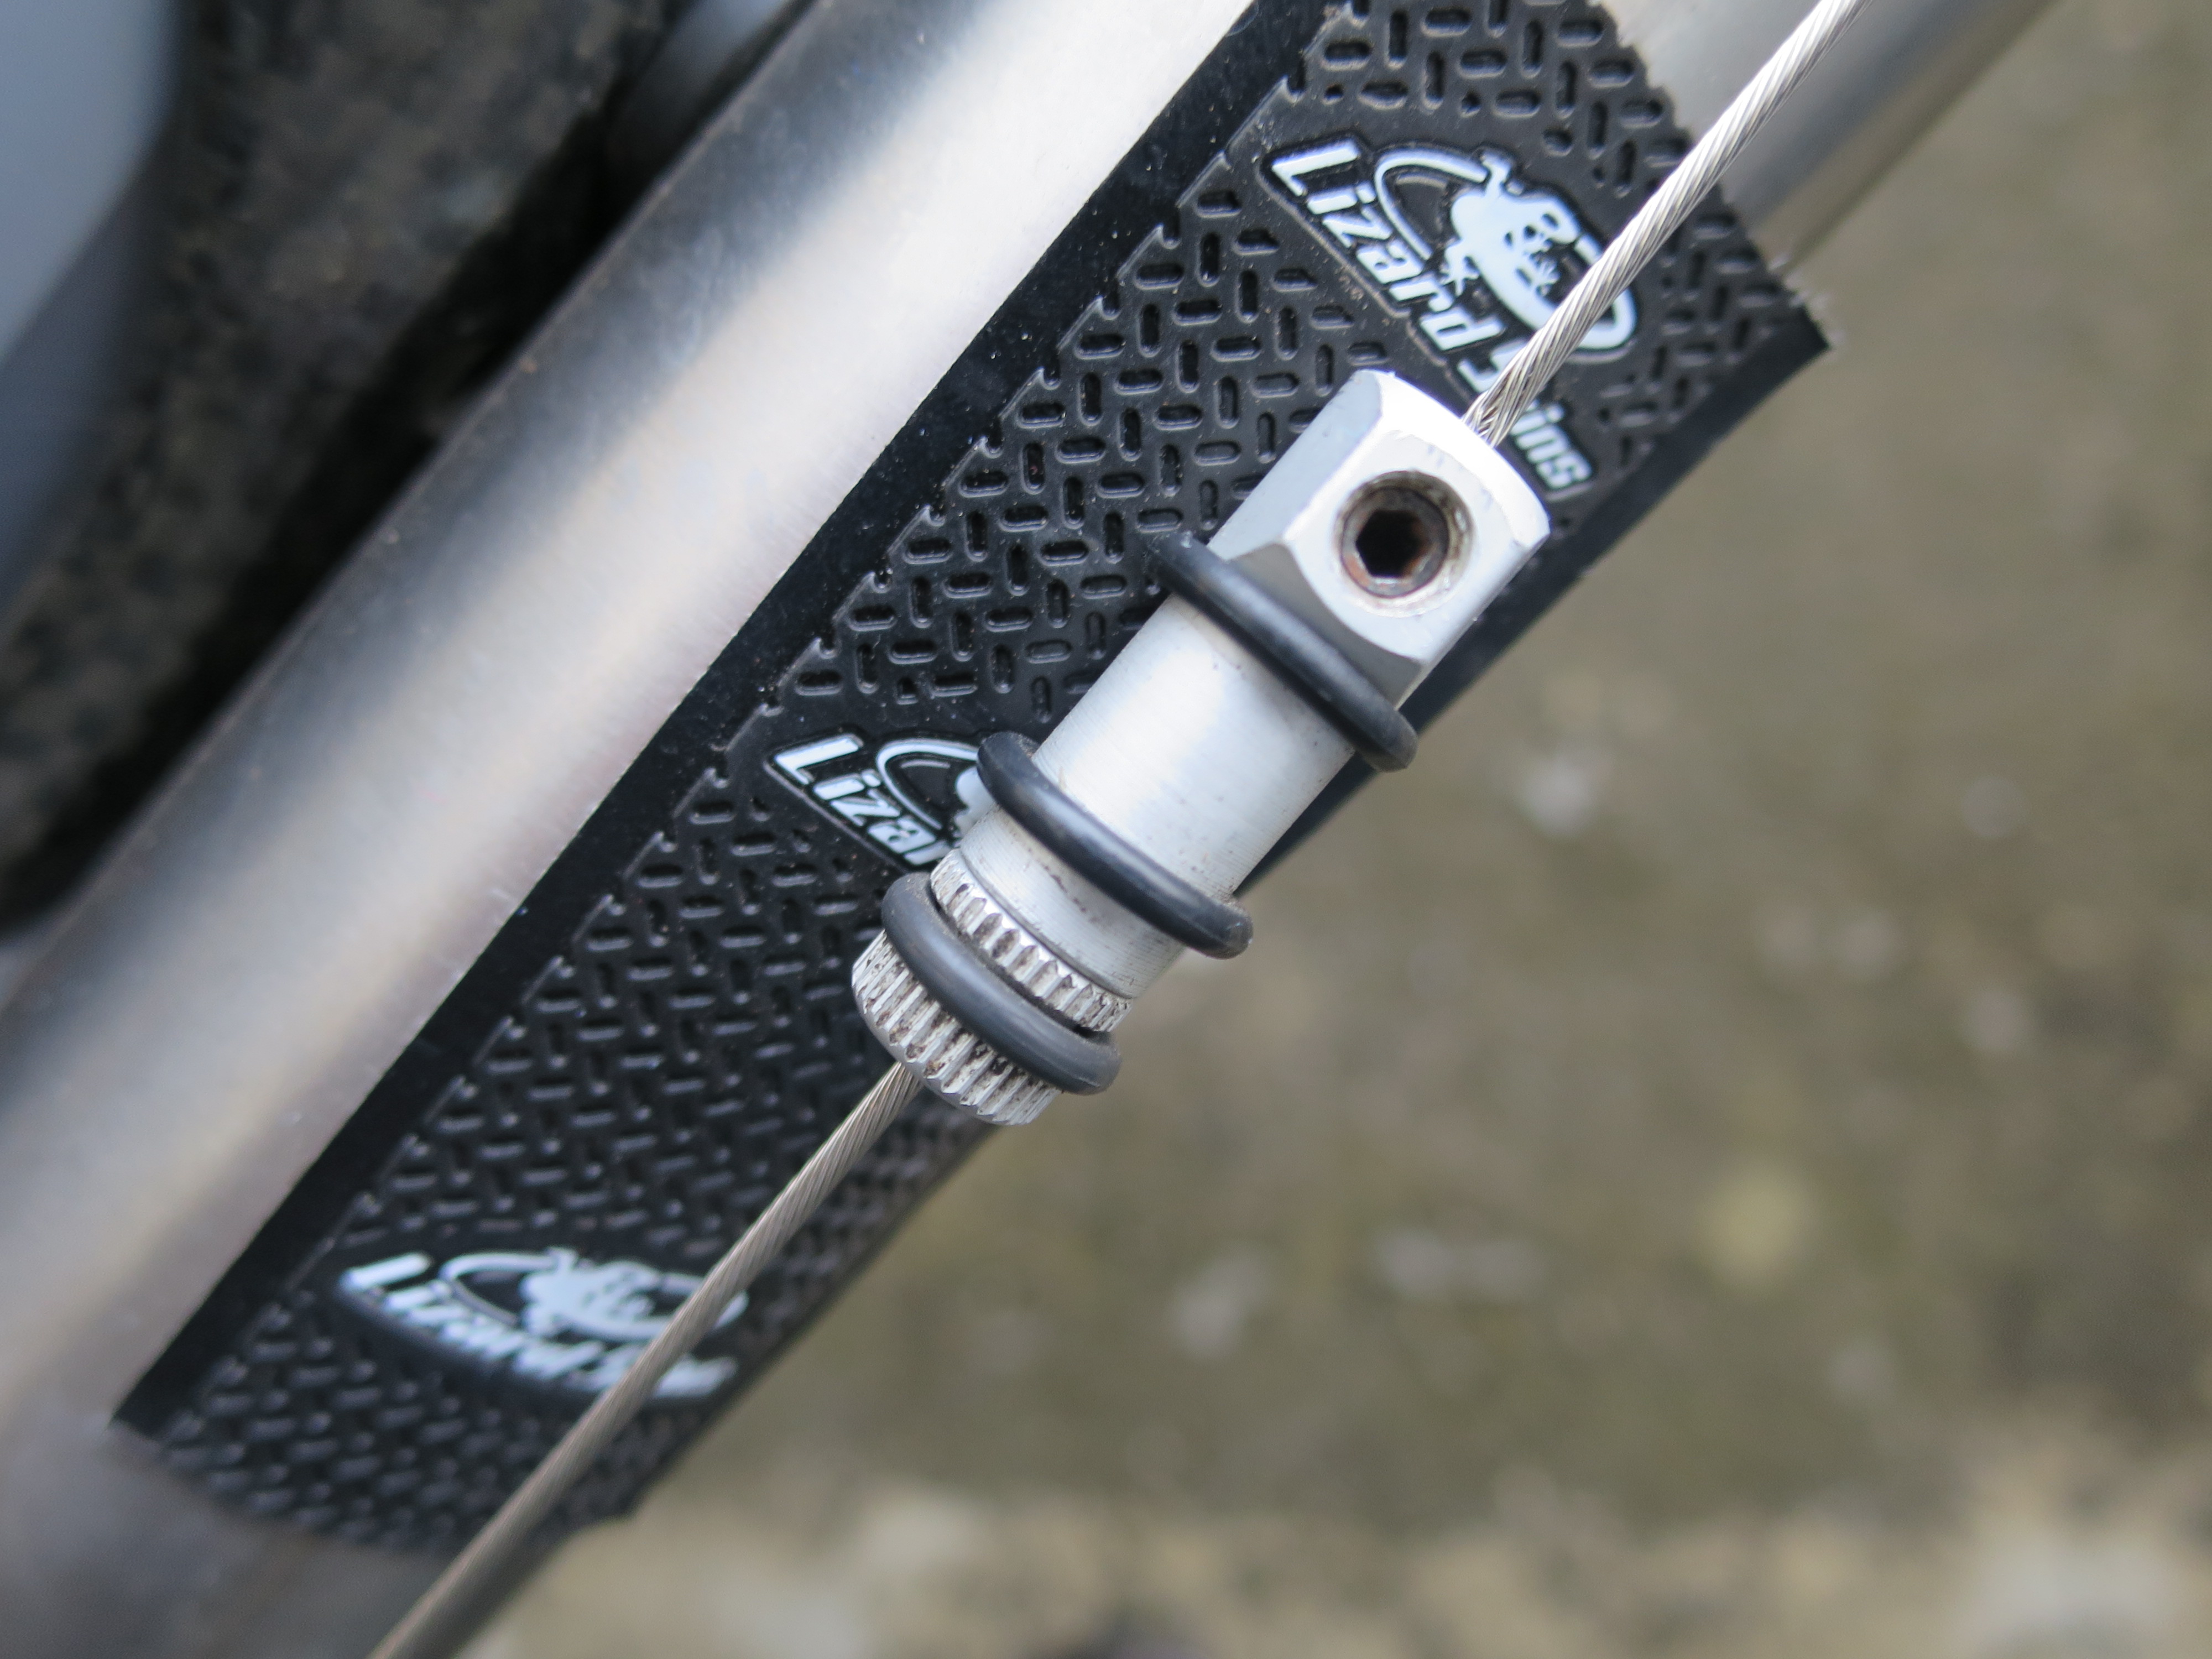
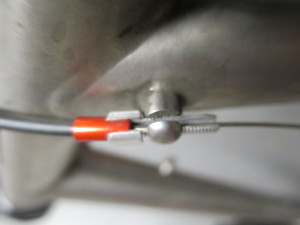
The rear brake cable and the shifter cable have nifty cable splitters. I believe the both Ritchey and Da Vinci Designs make versions of these. They rattle against the frame if unprotected, so I added extra O-rings to the splitter and padded the frame with some cushy Lizard Skin finishing tape. All the cable stops are slotted, but unfortunately the shifter cables stops are also threaded. Unscrewing a barrel adjuster completely is awkward because of its spring. I prefer the Ritchey Breakaway’s system of just having unthreaded derailleur cable stops on the frame, eschewing the rarely-used frame adjuster. Here’s a little detail that’s eliminated this problem – I asked Seven to make a slotted barrel adjuster for me. Now, once I separate the shifter cable I can just pull the housing and ferrule out of the stop (like I do for the rear brake cables) and the handlebars are completely free from the frame.
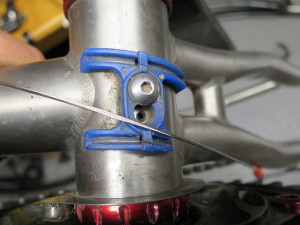
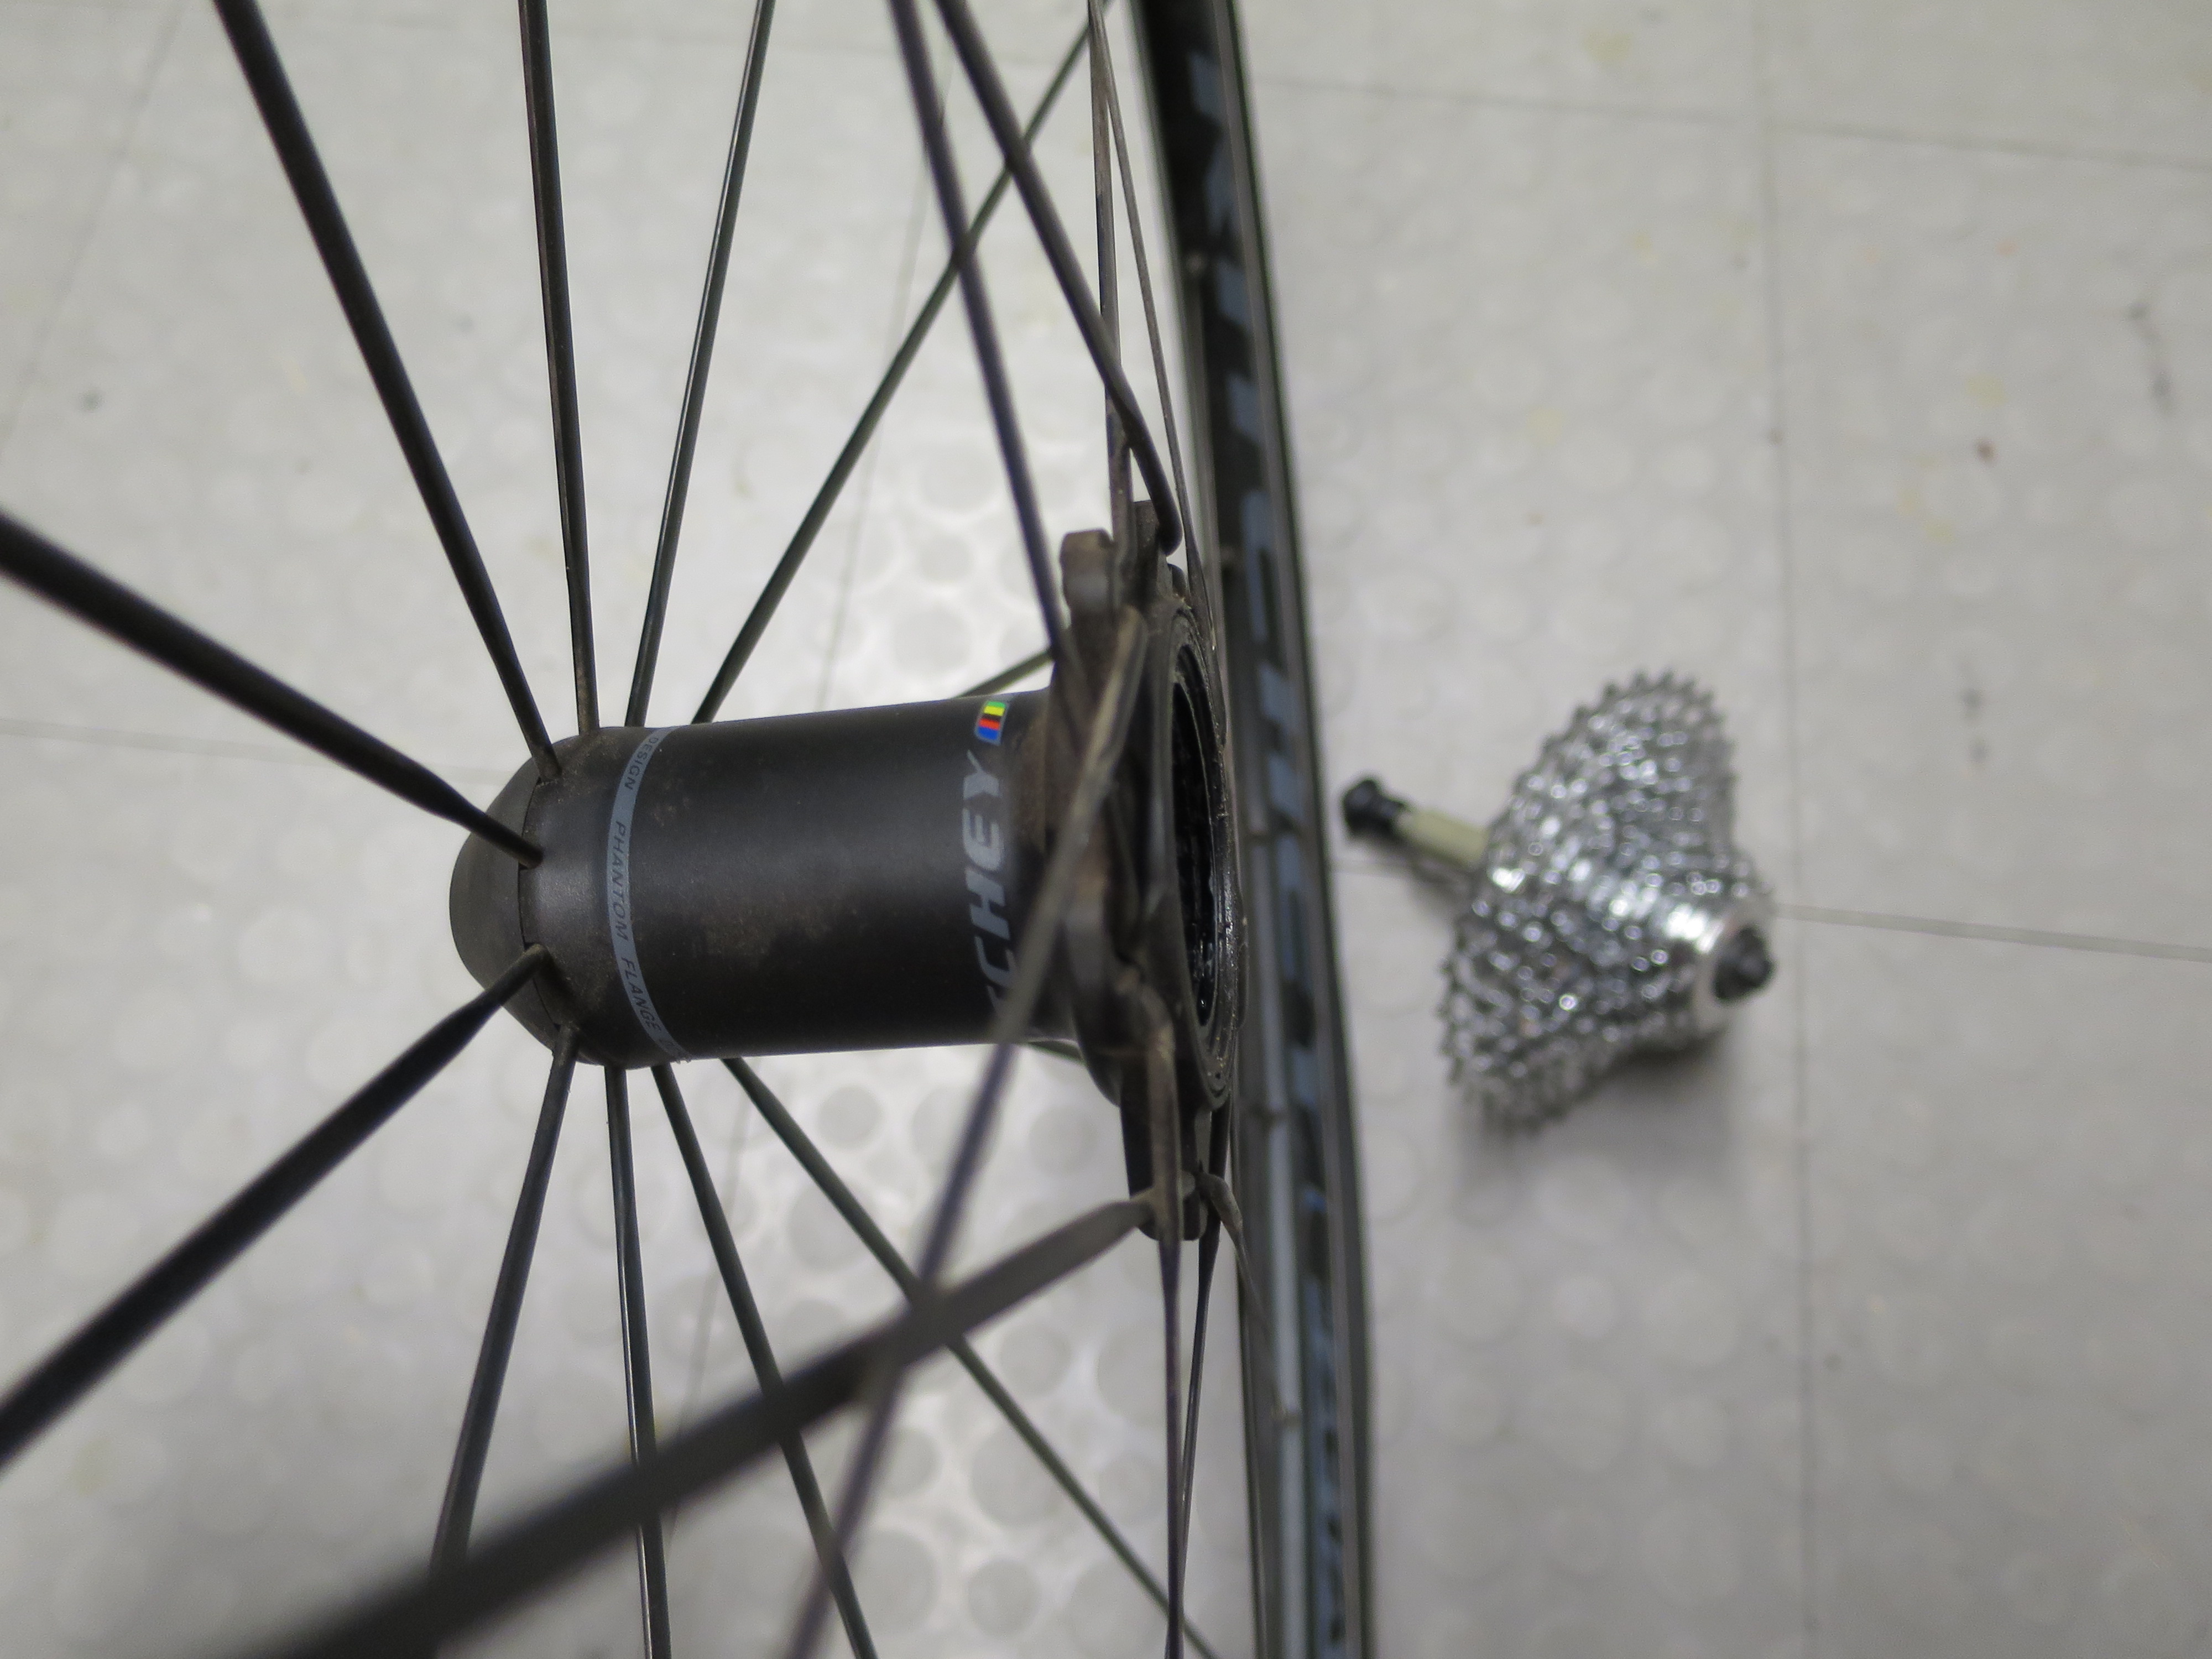
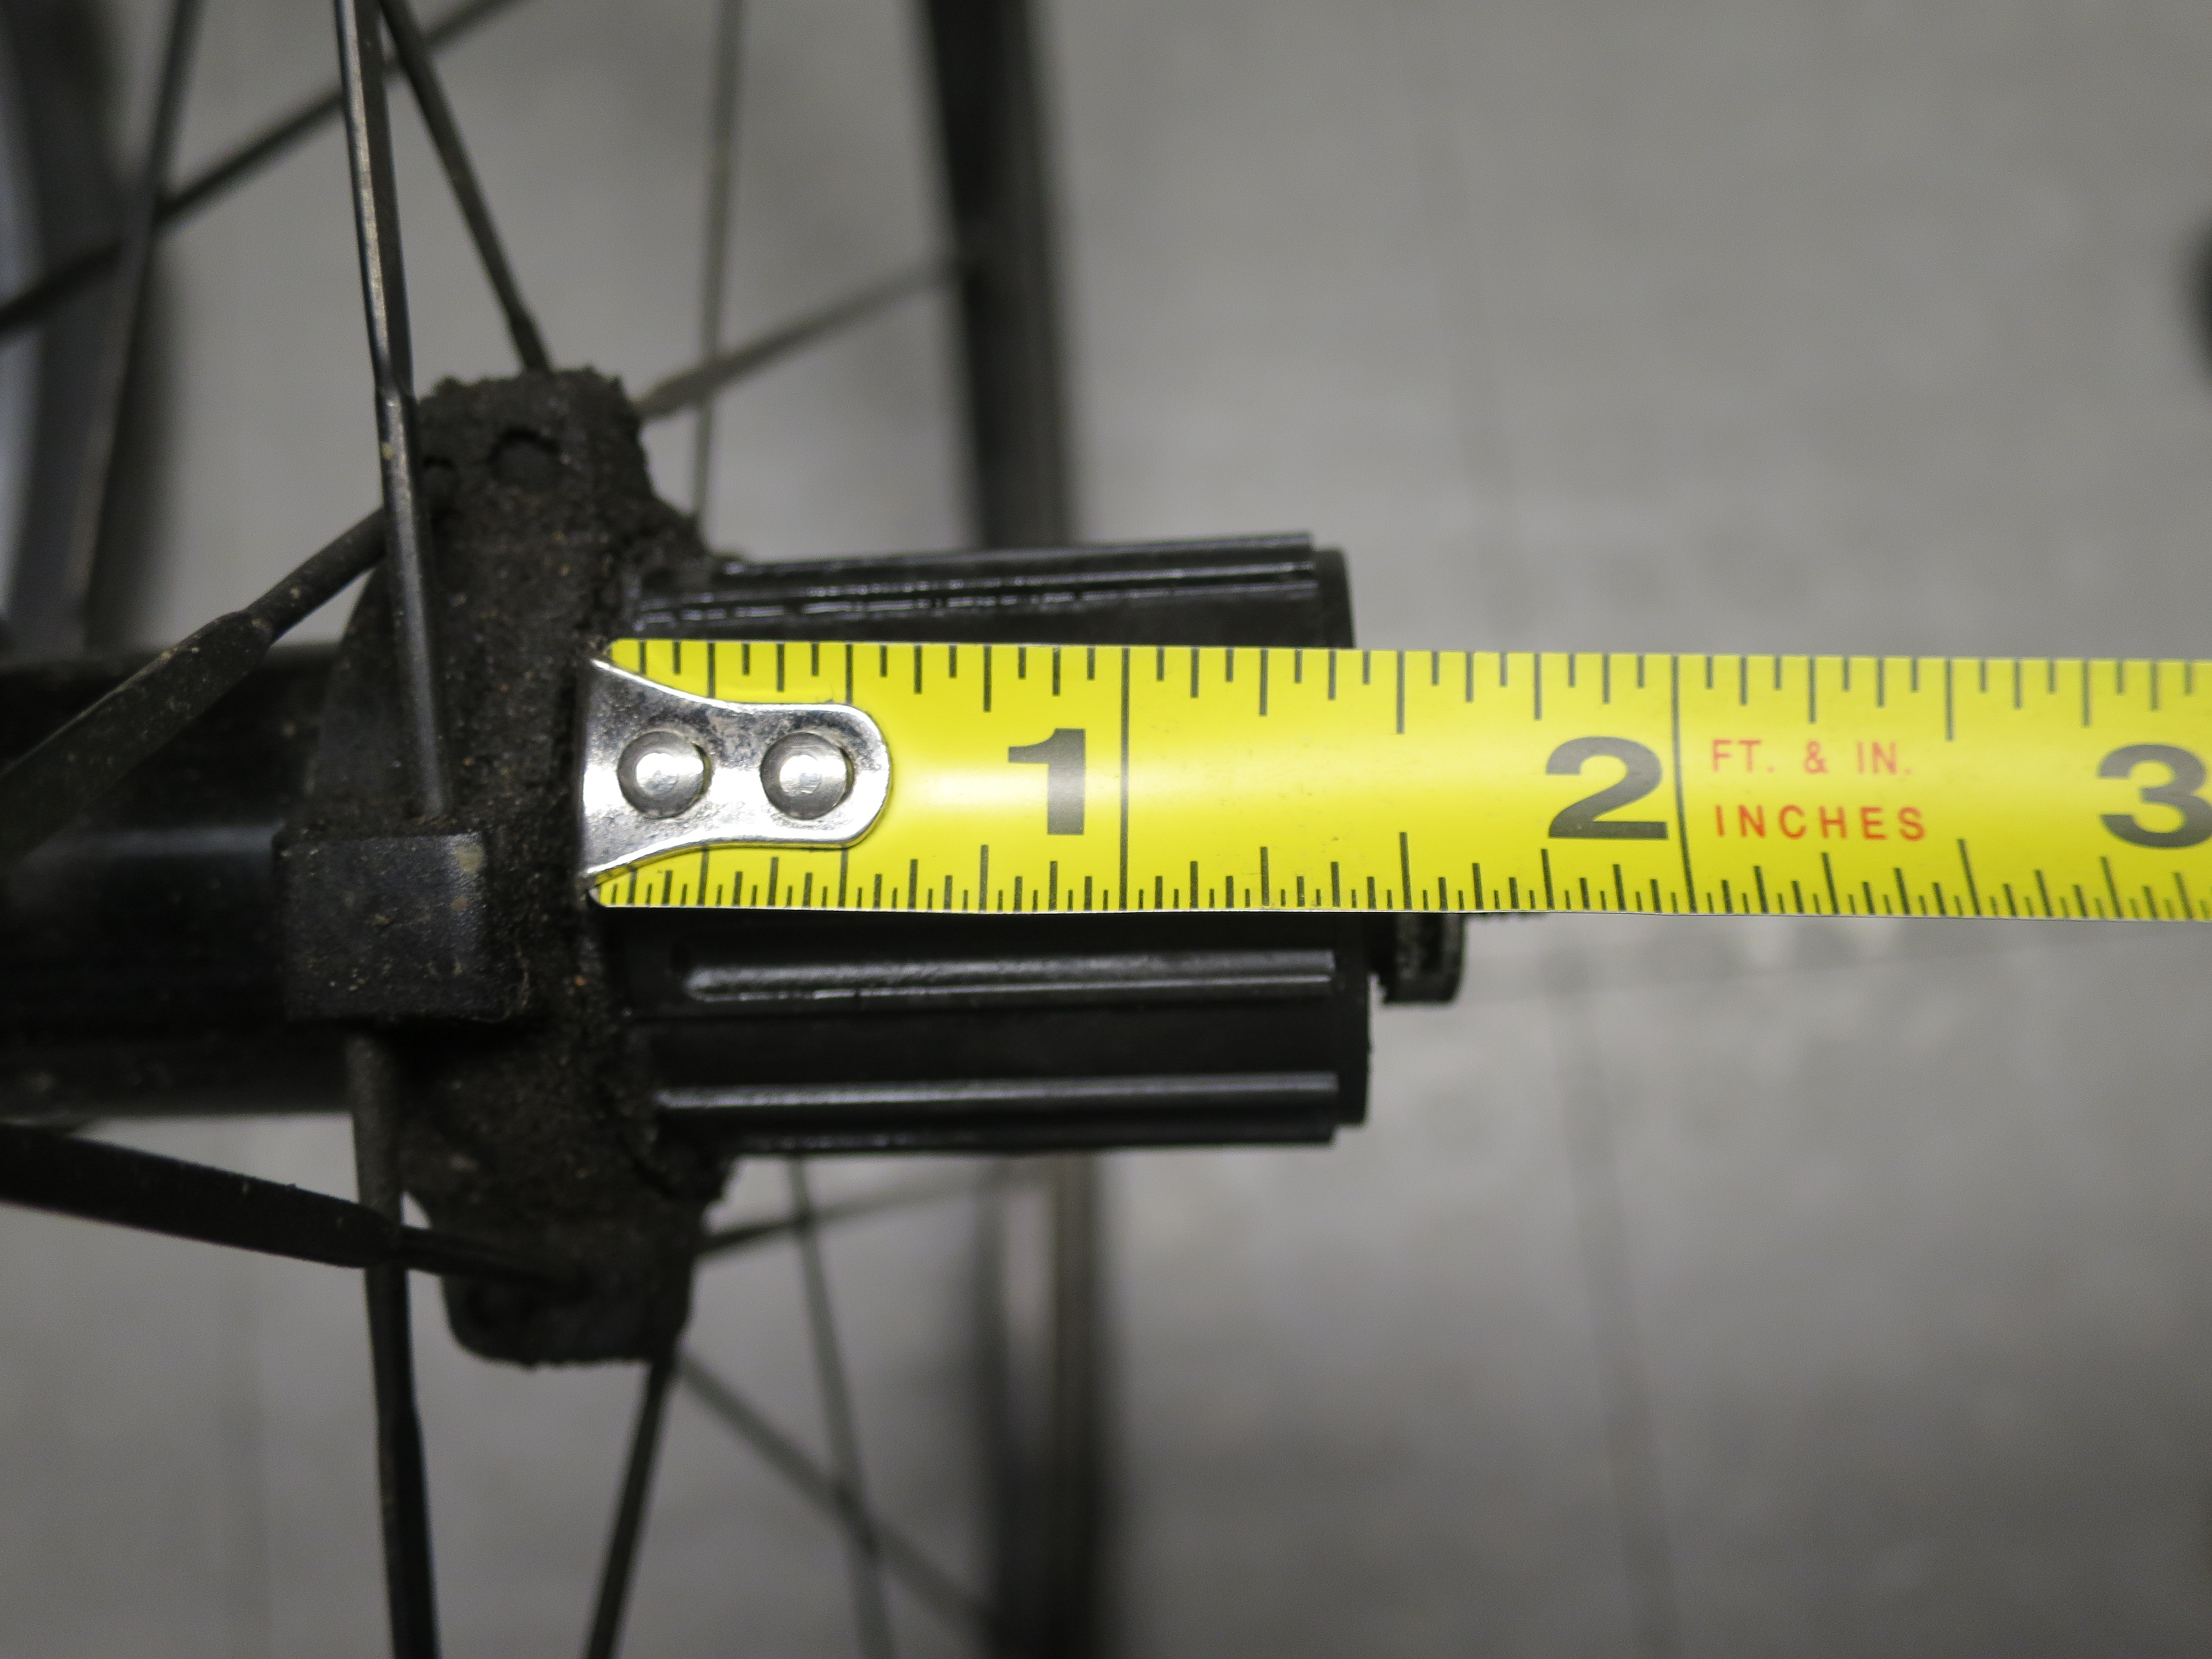
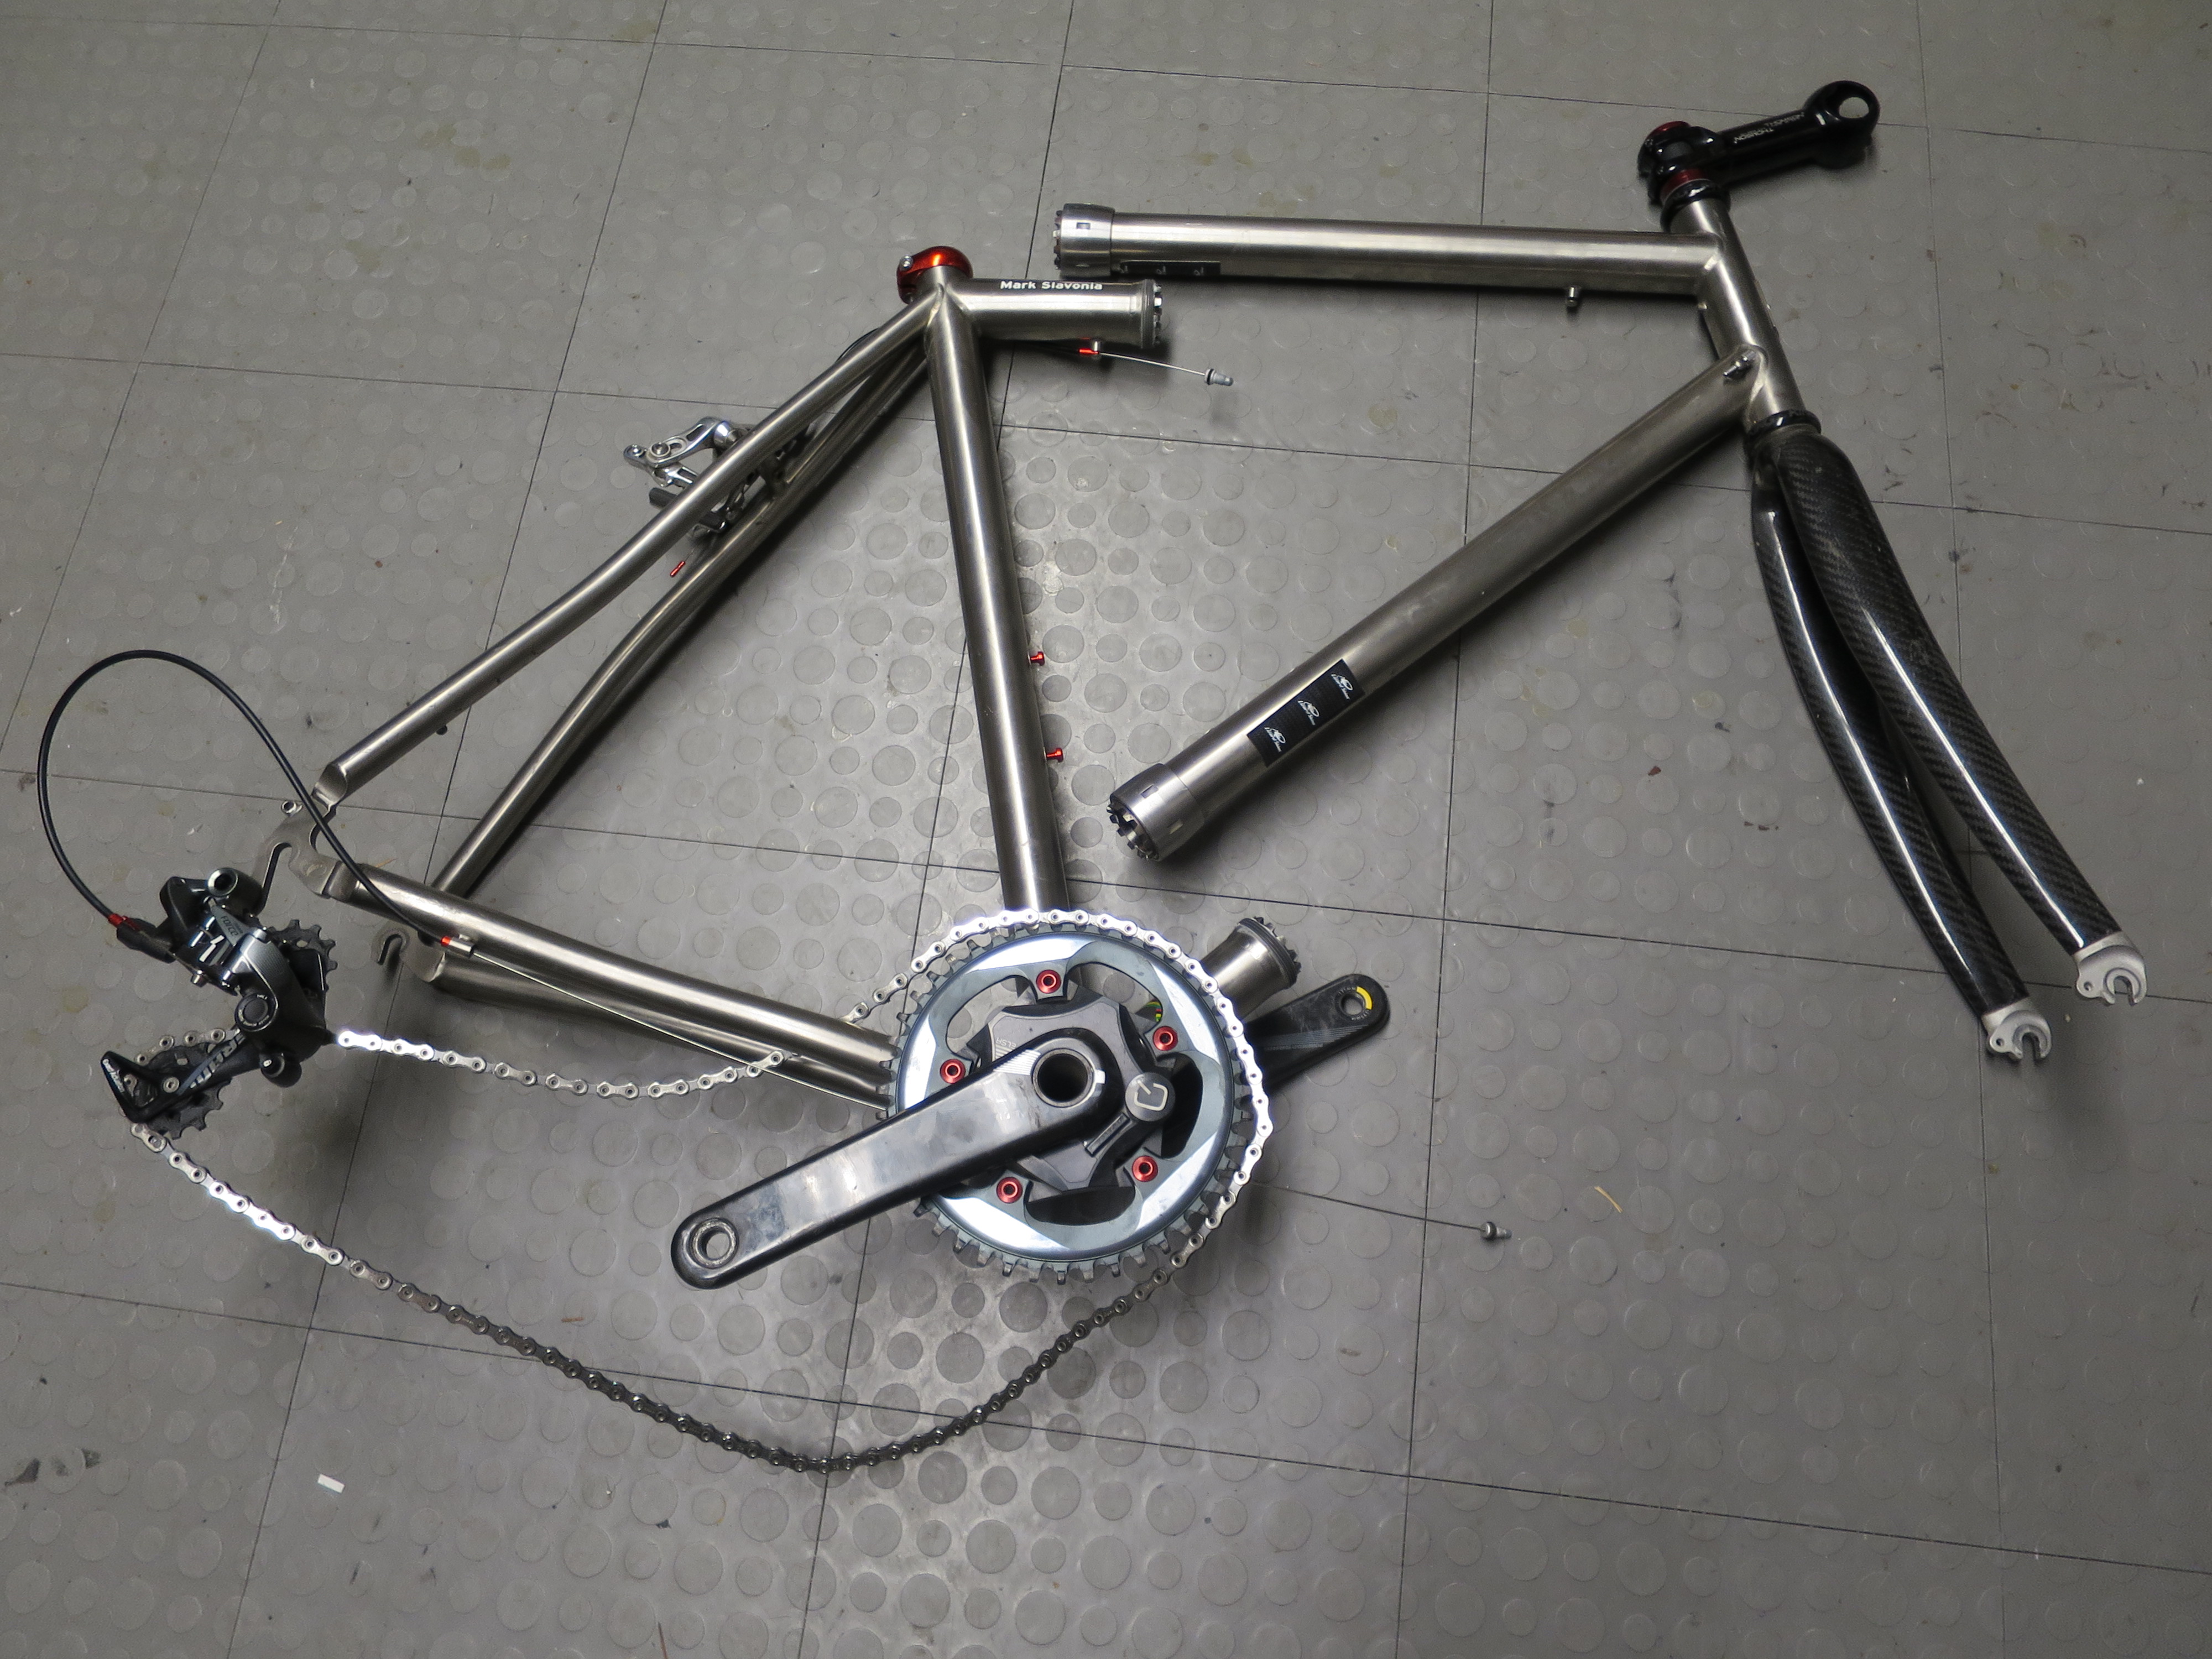
A little cut in the plastic cable guide under the bottom bracket allows me to pop the cable out of this guide as well. When Wipperman makes an 11-tooth resuable master chain link I’ll remove the chain too, but for now I leave the chain on. I know this is controversial, but I don’t remove the rear derailleur. Once removed it’s a hassle to find a good secure place to pack it and keep the cable and housing protected. I take special care to pack the case so that there’s no chance for the derailleur hanger to get bent in transit. Now I can remove the wheels, deflate them, and take off the quick release skewers. Here’s where the Ritchey Zeta II wheels come in handy – the cassette and axle can be removed by hand from the wheel just by pulling on them. This allows the rear wheel to be packed flat in the case and saves almost 2 inches of the case’s 10-inch width. Hallelujah! Packing this bike just went from a “6” to a “3” on the 1-10 scale of difficulty. Now I’ve got the bike in two pieces, handlebars with cables and the front brake, and a few parts I’ve removed. I pad the frame with pipe insulation, each piece cut and labeled for a specific tube.
The rear wheel goes in the case first. I made lightweight wheel bags from pillowcases to protect the braking surfaces from scratches.
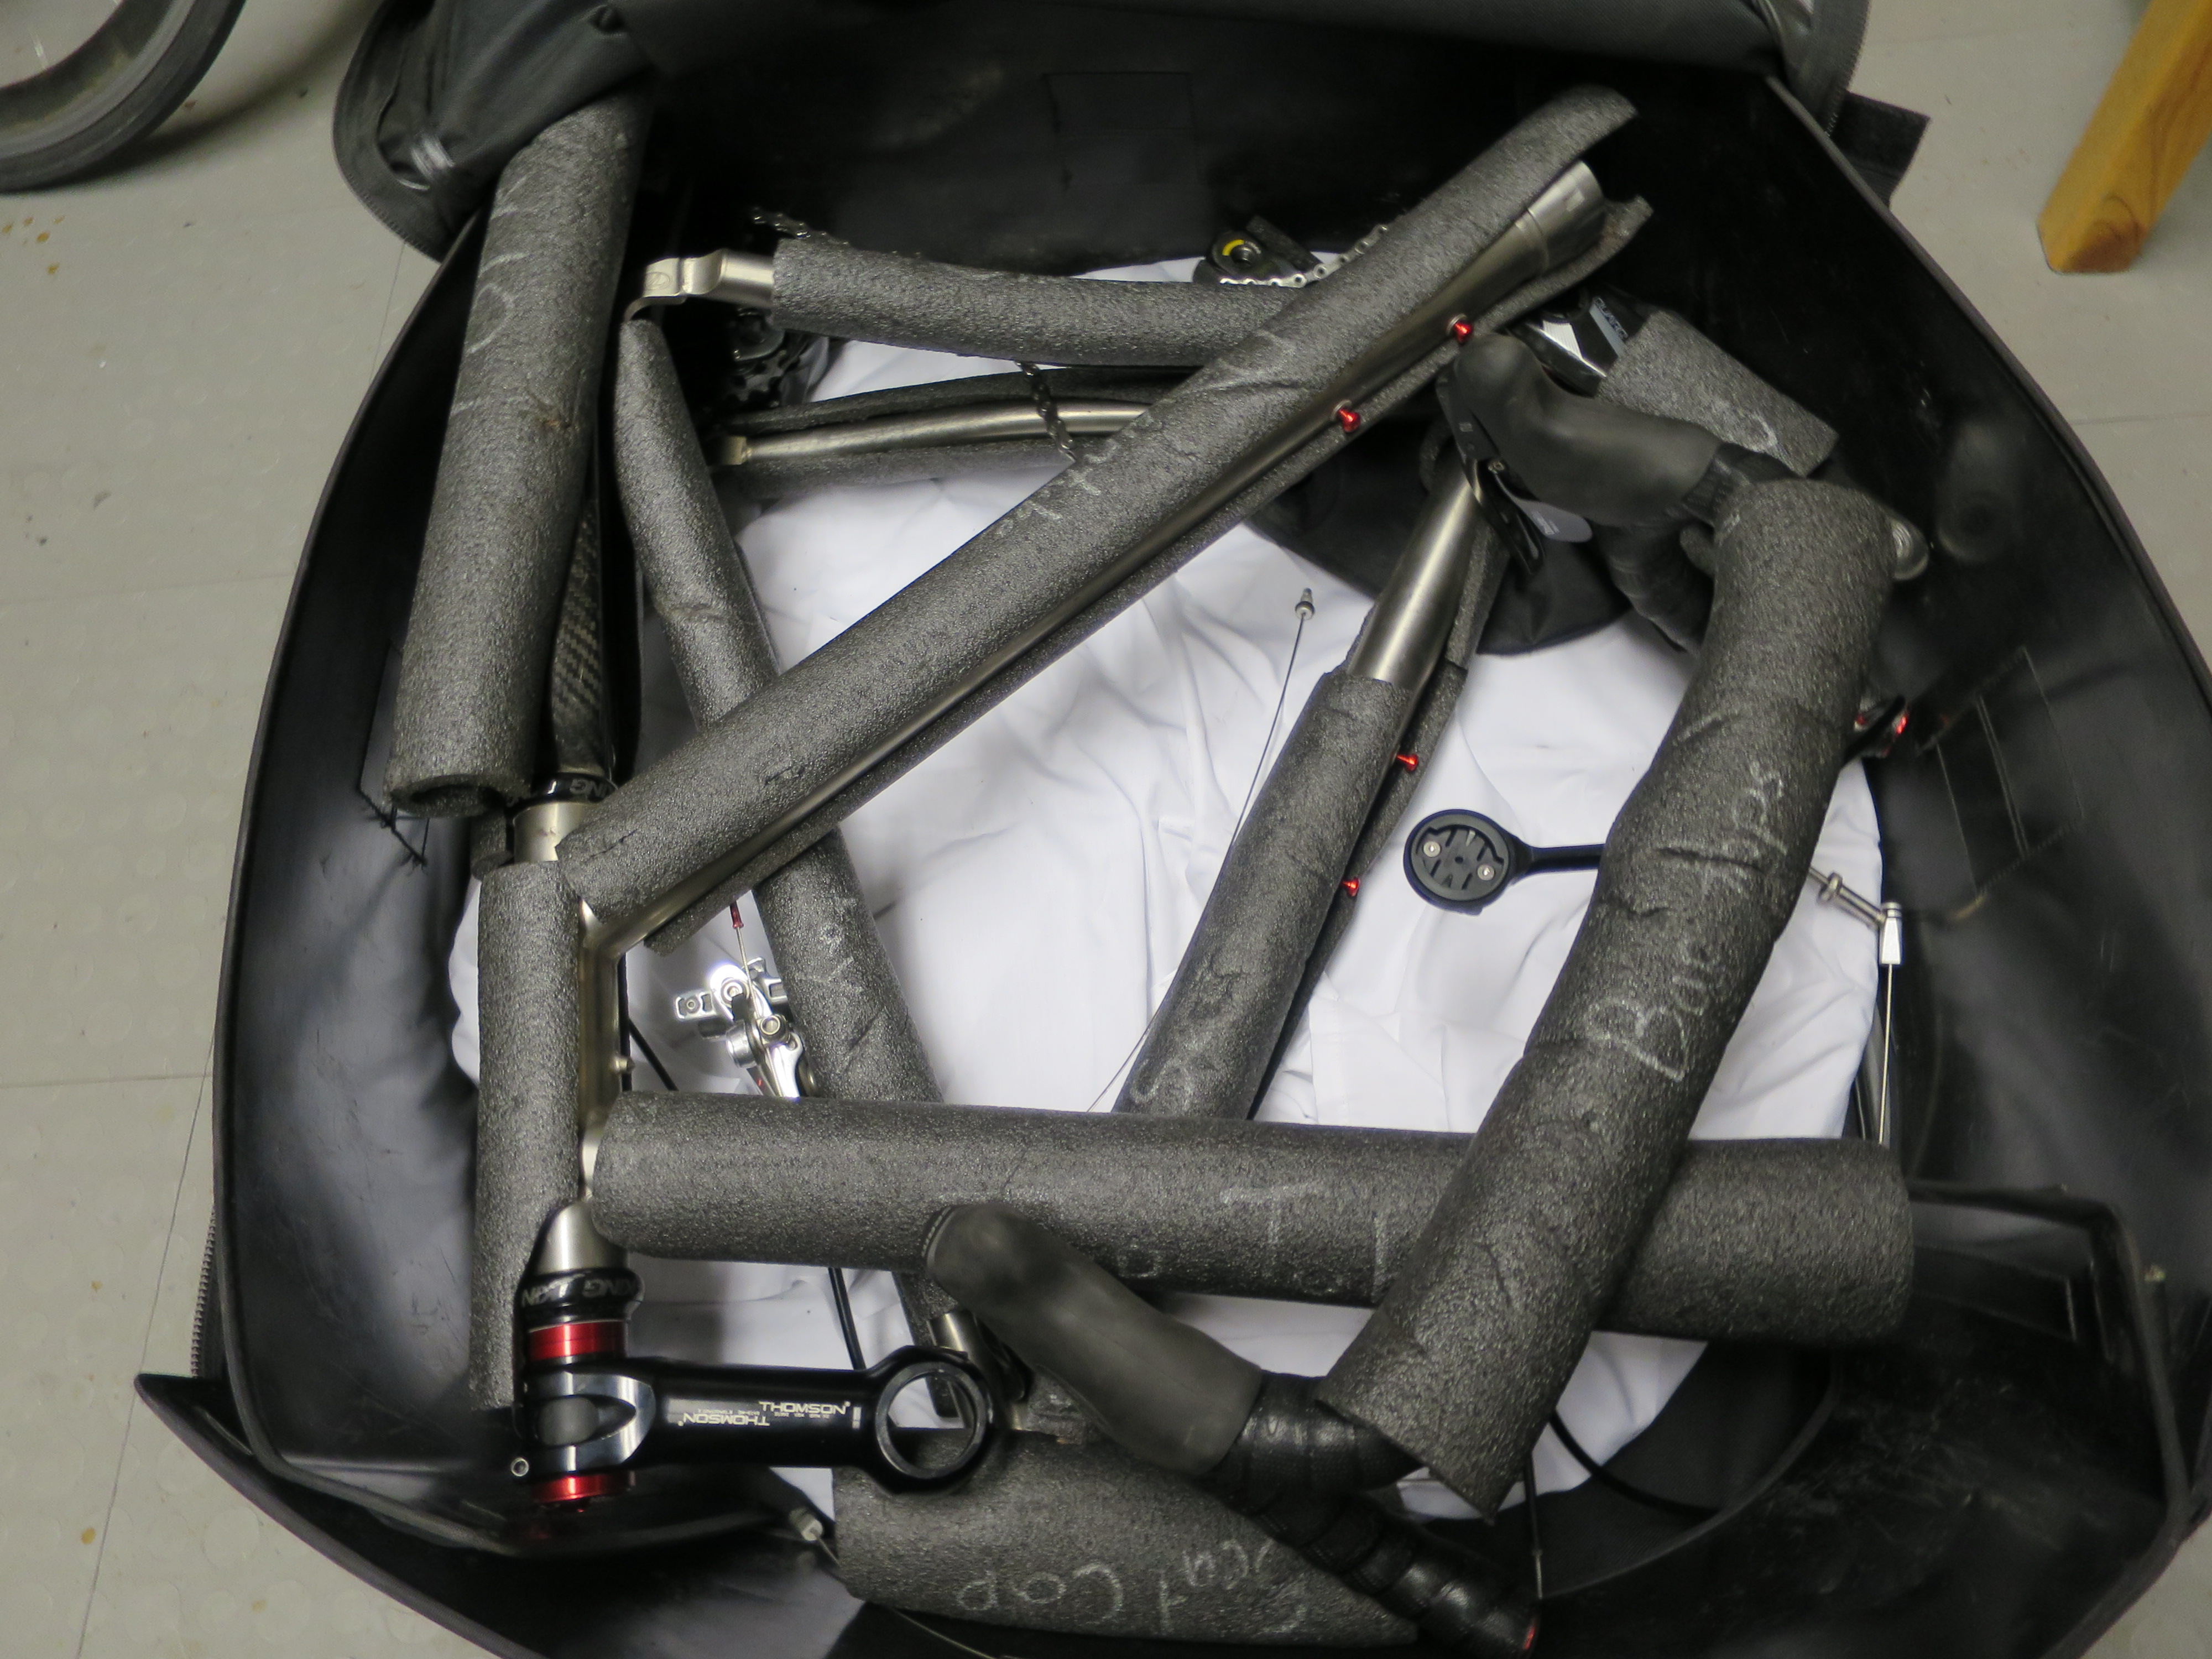
Next come the two halves of the frame. I’ve experimented with many ways to align these two pieces and the handlebars but now that I’m using the pack-flat Zeta II wheels, it doesn’t really matter – virtually anything works. Then it’s time to stuff the interior of the bag with the small parts and tools as well as shoes and a helmet – there’s a big space right in the middle that fits a helmet (I’ll cover the helmet in a cycling jersey for protection, but this photo shows the position.)
These photos actually show the top of the case at the bottom of the picture, which is how I like to pack it, with the flap flipped up and away from me. The case is most stable if the weight is at the bottom of the case (the top of these photos), so that’s where the drive train is. The shoes fit right between the chainstays. 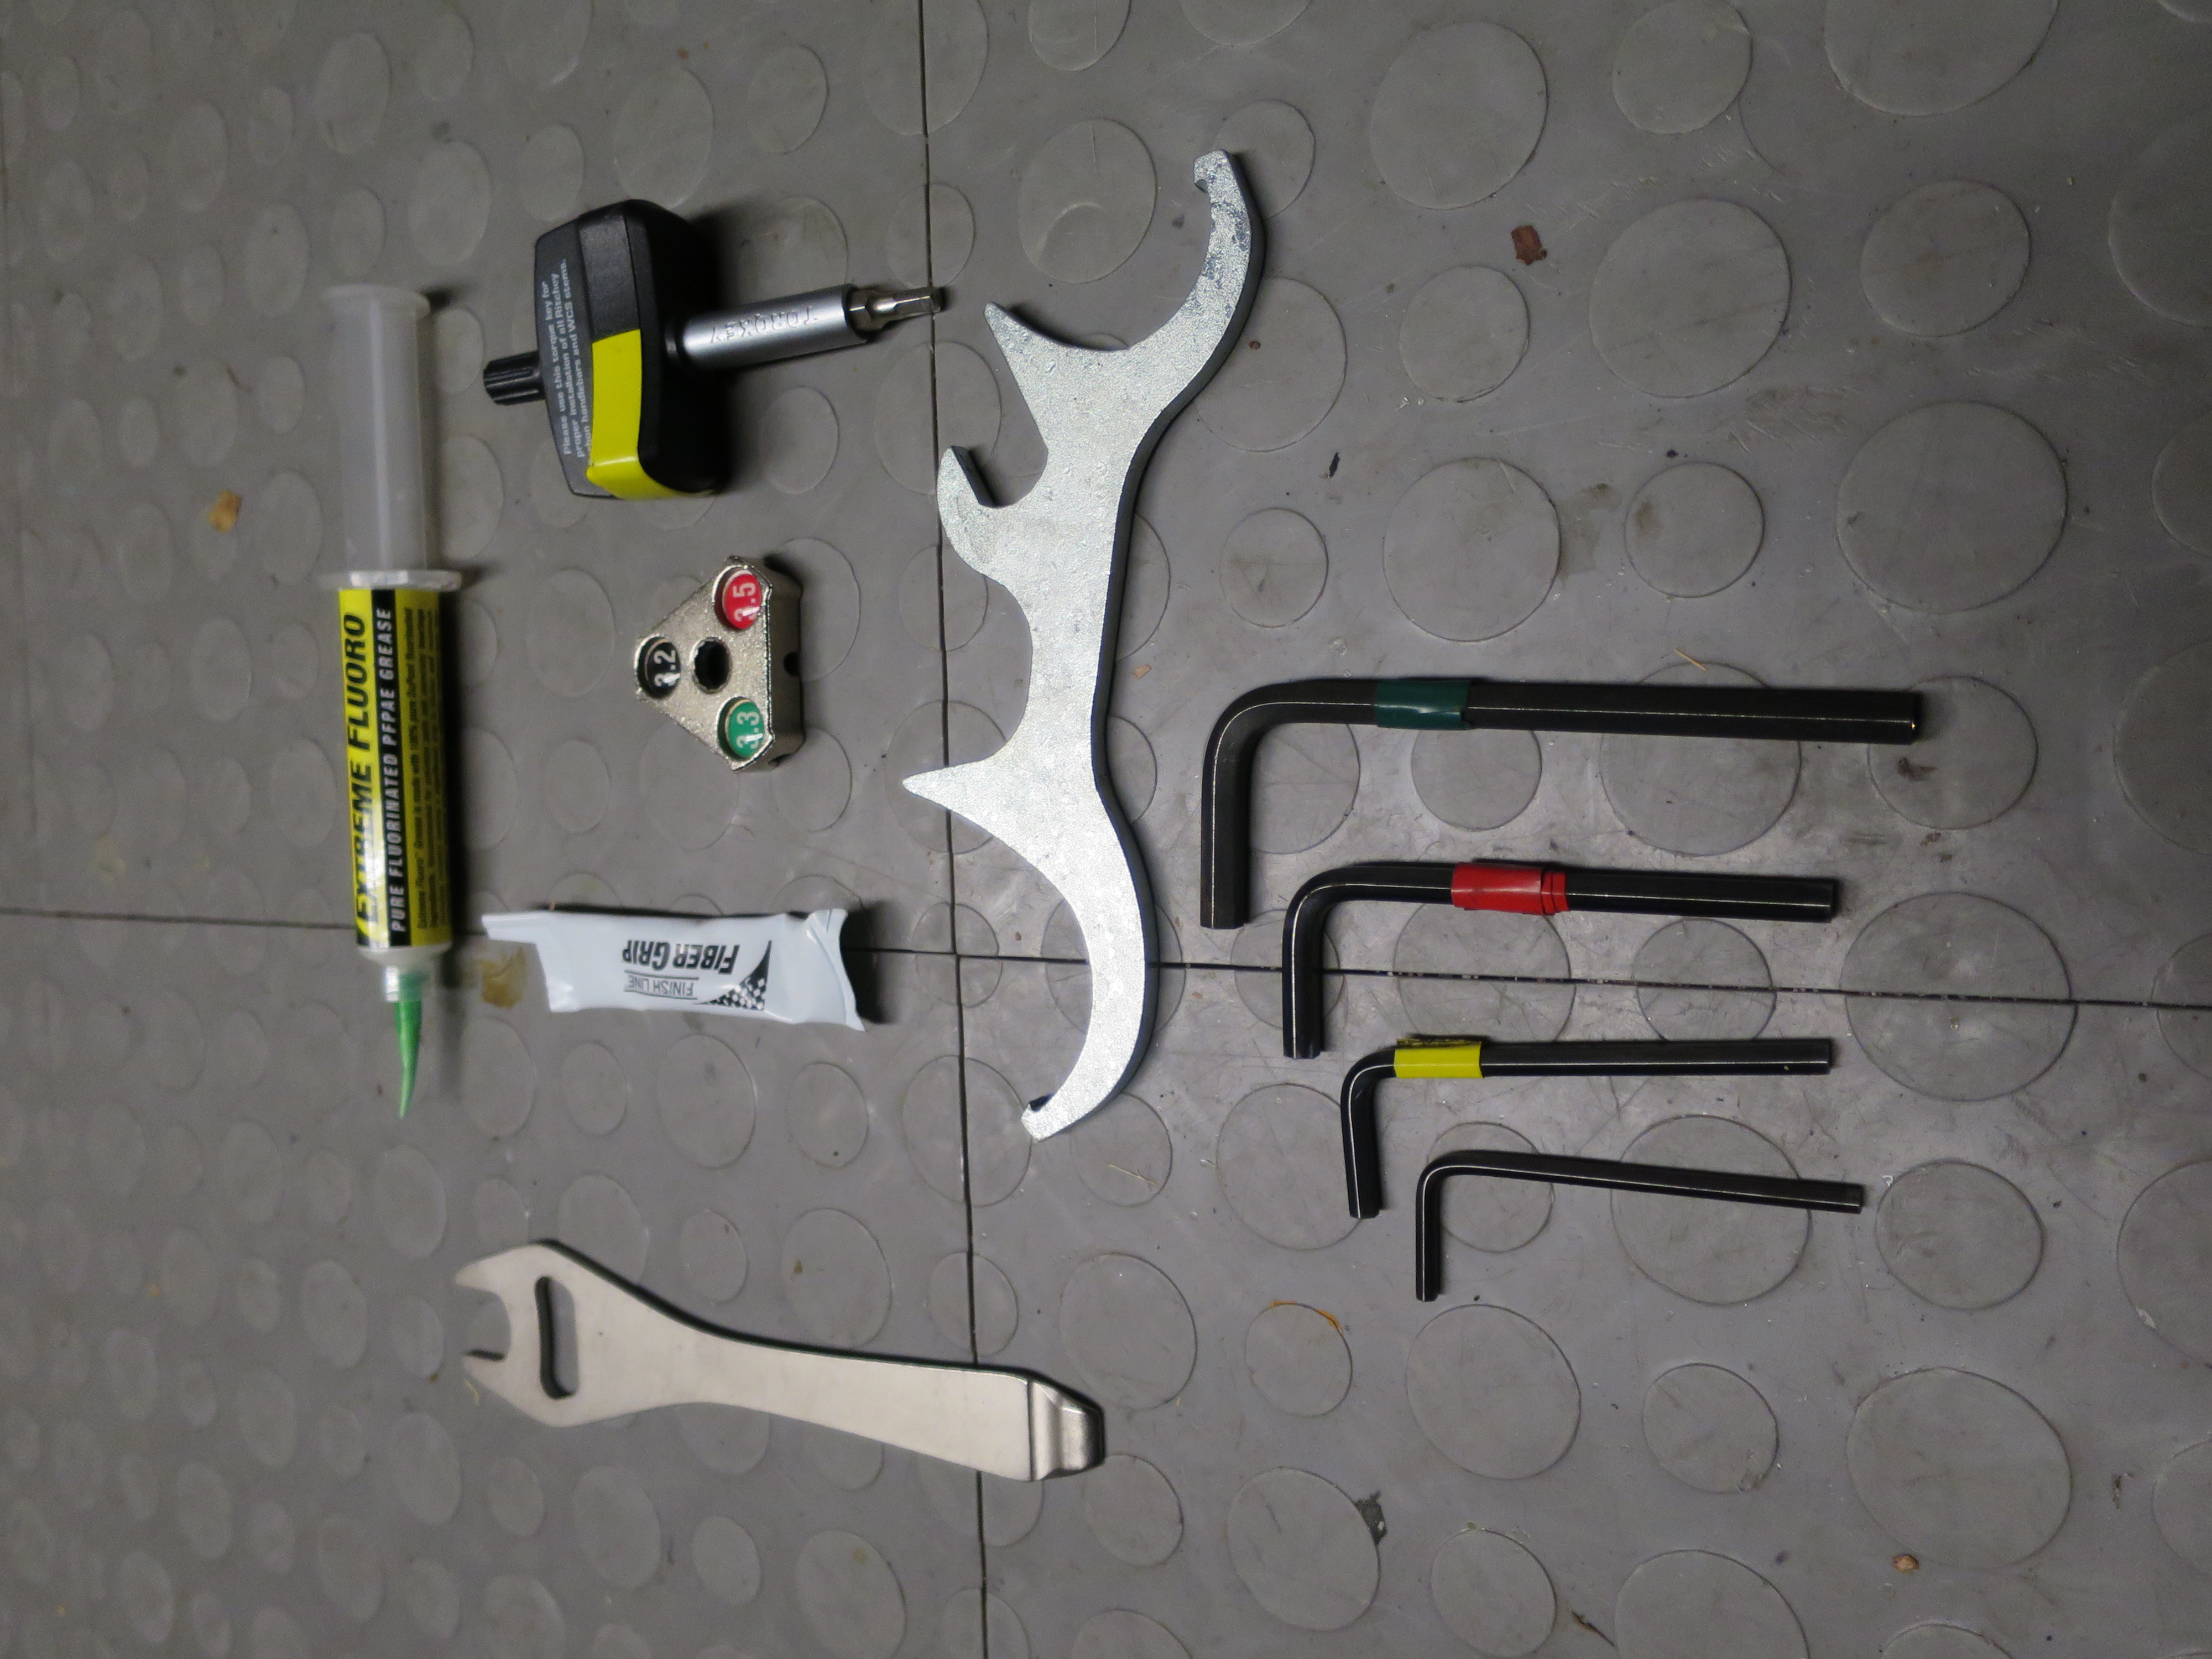 The tools I use – allen wrenches, a Lezyne pedal wrench, a torque key, a spoke wrench, grease, carbon paste, the S&S tool, lube and rags (not show) A good pump is essential because I have to get both tires back to full inflation when I assemble the bike. C02 cartridges are forbidden in checked baggage. I like the Lezyne Road Drive, size large, which mounts easily beside the water bottle cage and allows for full inflation without misery. When packing the bike I stow the pump in the seatpost for protection.
Once the bike is packed, the exterior pockets can be filled with cycling clothing that provide added padding to the bike. S&S versus Ritchey Breakaway In some ways the Ritchey Breakaway system is superior to the S&S couplings. The ingenious way that the Breakaway uses the seatpost to bind the top tube and the seat tube eliminates one coupling entirely . The Ritchey’s top tube can be difficult to fit in a case, though, and my Ritchey frame eventually developed an annoying tick in warm weather that I couldn’t fix. One of the biggest advantages of the Ritchey is that it is produced as a stock frame and is a lot less expensive than virtually any of the S&S coupled frames. All of the S&S coupled options are made to order by custom frame builders and are not cheap. I hope this note is helpful for other owners of travel bikes and for those considering a bike like this. Please share your own tips and tricks.
|